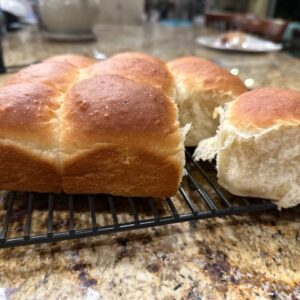
Potato Pull Apart Dinner Rolls
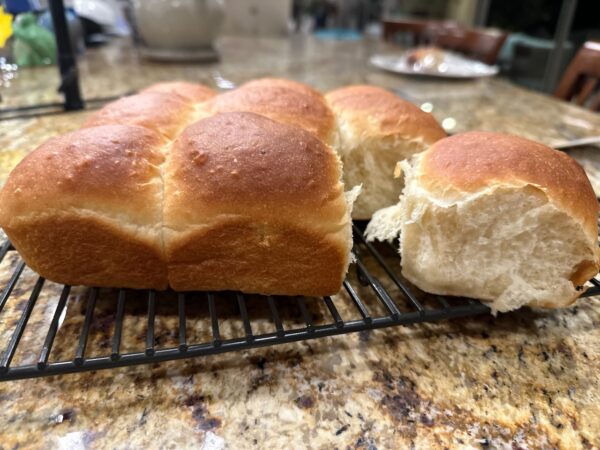
These rolls are fairly perfect if you are looking for a standard, pull apart roll with a terrifically soft and tender crumb. I imagine stuffing these rolls with leftover turkey after thanksgiving and sopping up turkey gravy with Thanksgiving dinner. These would be a very welcome addition to any meal, really. I last paired these with a thick and hearty Chicken Soup - on a wet and dreary SoCal Spring day.
Ingredients
- 6 oz Potato - Yukon Gold or Russet
- ½ C Potato Water - Save some for the dough!!!!
- 1 Tsp Yeast - heaping...
- 4 Tsp Sugar - why always sugar ?
- ¼ C Butter - Melted and cooled
- 1 Egg - Room temp
- 1 Tsp Salt
- 1½ C Flour - All Purpose
- 1 C Bread Flour - (Can use all AP if you don't have any Bread Flour)
- 1 Tbl Olive Oil - For greasing the bowl for the rise
Instructions
Cook the Potato and SAVE the water
- Peel, dice and cook the potato in a sauce pot - covering the potato with water. Start with cold water. Bring to Boil, Reduce to Simmer for about 10 - 15 min till a fork slides easily into the potato and it is done. (After the potato and water comes to a boil - salt the potato fairly heavily. Stir to ensure the salt doesn't just fall to the bottom of the pot.)
- Using a slotted spoon or other spider utensil, remove the potato from the water and place into a bowl.

- SAVE 1/2 C ++ of the potato water.
- Mash the potato in the bowl (using a fork) - and fill a 2/3 C measuring cup with mashed potato.
Melt the butter in a small container and let it cool a bit
Make the Dough
- Place the 1/2 C of the hot potato water into a bowl. Let it cool till you can stick your finger in the water and it feels like a nice hot bath. If it is too hot for your finger - it is too hot for the yeast. (Or you could measure it to appx 100 degrees - your pick. :) )
- Sprinkle the yeast and 1 teaspoon of the sugar over the warm water and stir. Let this set for about 10 min while the yeast eats up the sugar and smells all delicious and lets you know you are about to make bread.

- Add the remaining 3 tsp sugar, mashed potato, melted butter, room temp egg, and salt to the bowl and stir to combine. A whisk would work well here.
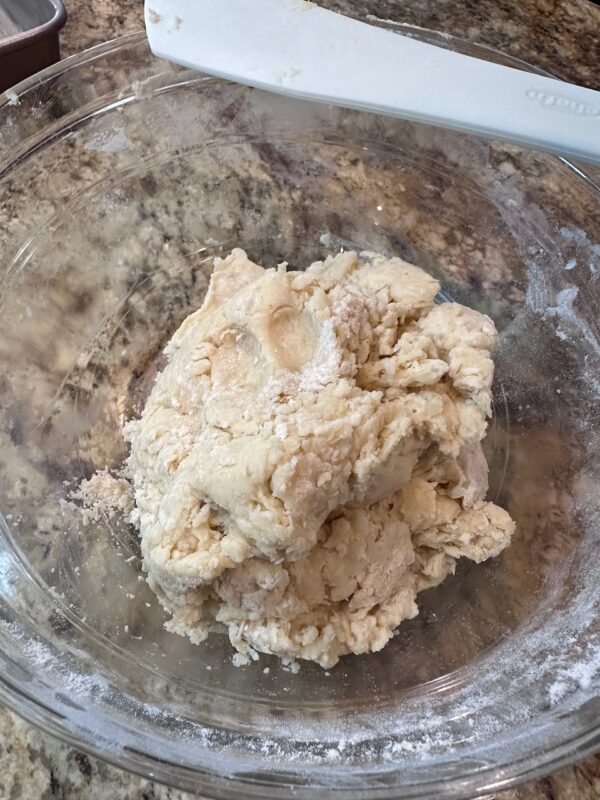
- Add the flour to the bowl and stir with a wooden spoon or spatula. The dough is supposed to be shaggy. Mine was NOT shaggy. I had a LOT of flour that wouldn't mix in - so I added about 1 more Tbl of potato water to the mix. (This is why you saved 1/2 C ++ of the potato water.... )
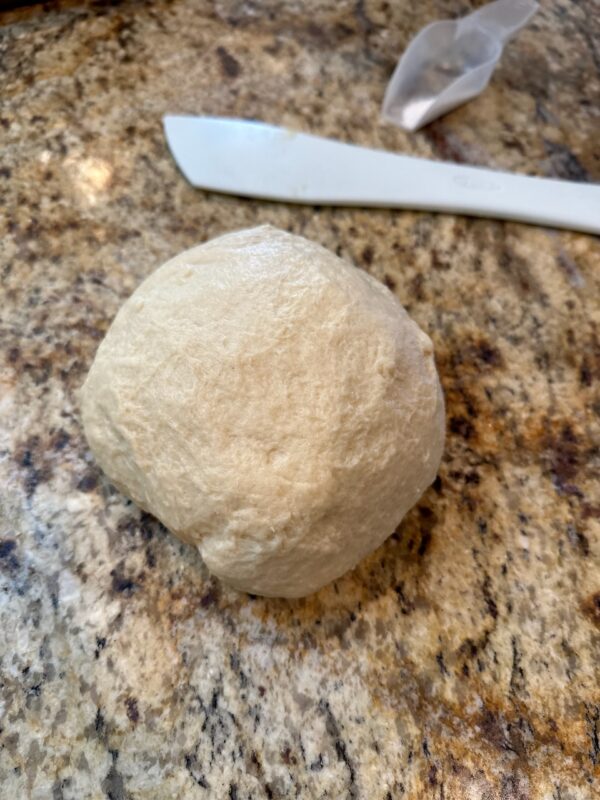
- Once you have most all of the flour mixed with the other ingredients - dump the dough onto your clean countertop. Begin kneading the dough for about 5 minutes. Set an alarm. After the alarm goes off - consider the dough - is it kneaded enough? You can tell by poking the dough. If the dough bounces back up and fills the hole you poked - it's kneaded enough. When I last made these I probably kneaded for 10 minutes total. The poke test didn't result in my dough springing back up immediately - but mostly... Also - over time you will learn when dough is kneaded enough. The texture should be smooth, slightly tacky and elastic. I did add a sparse sprinkle of flour here and there because the dough was sticking a LOT to my hands and the counter. Be cognizant not to add too much - but if it is tooo tacky - sprinkle some flour on your counter!
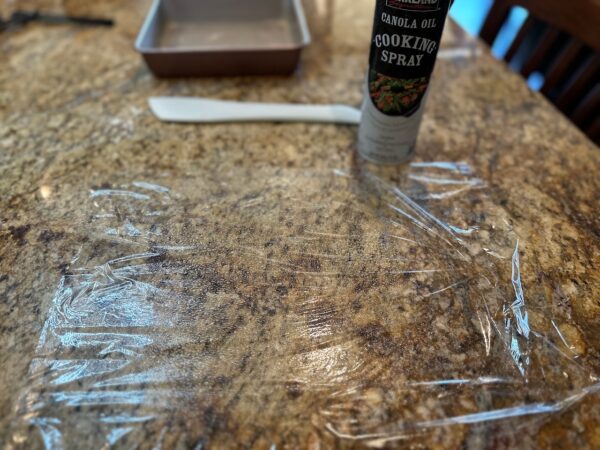
- Prepare your plastic wrap to cover the dough once kneading is complete. Carefully lay out your plastic wrap and spray with oil. This is optional, but if you have your dough stick to your plastic wrap a time or two you might get into this habit with me. For the first rise, it isn't so important, but if your dough sticks to the wrap on the second rise, then you'll lose the height you waited so long for...when you rip off plastic wrap from the top of your dough and deflate your dough....
- Place the dough in a bowl that was oiled. Turn the dough over in the bowl so the dough gets oiled too. When I place the oiled plastic on the dough - if the dough happens to raise to the top of the plastic - it won't stick !
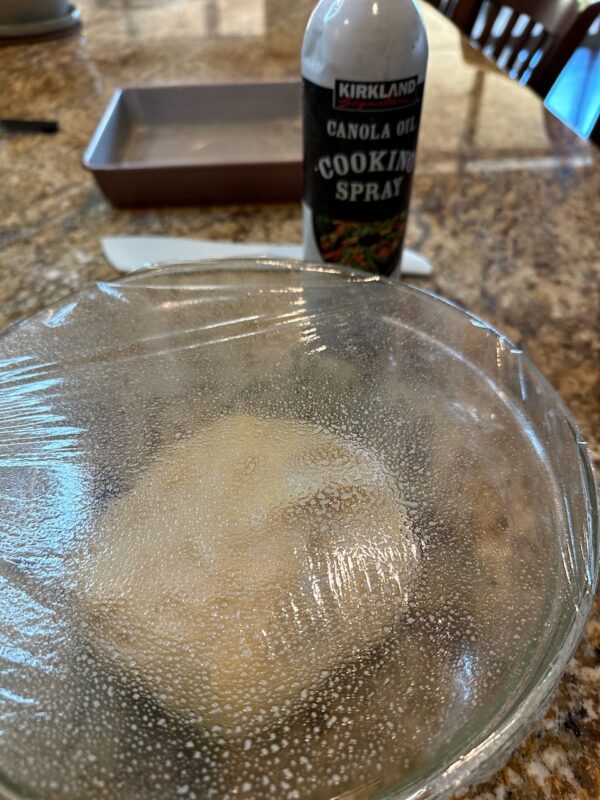
- First Rise : Cover and set aside in a warm spot for 1-2 hours --> until the dough is doubled. (I placed my dough in the warming drawer. You can turn on your oven to 200 - let it begin to get warm and then turn it off - temp should be about 75 - 100℉.)

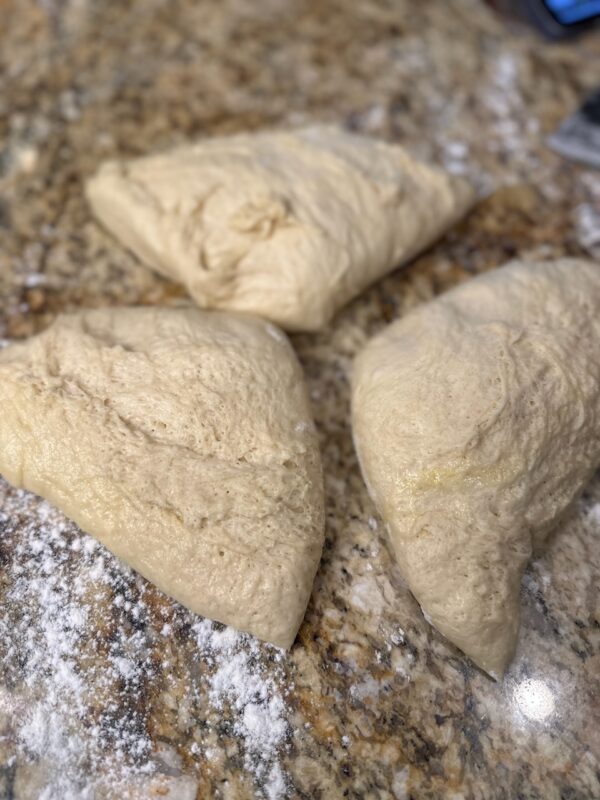
- After the dough is risen - turn the dough onto your counter. Cut it into 3 pieces like a peace sign.
- Cut the 3 pieces into 3 more pieces each (9 rolls)
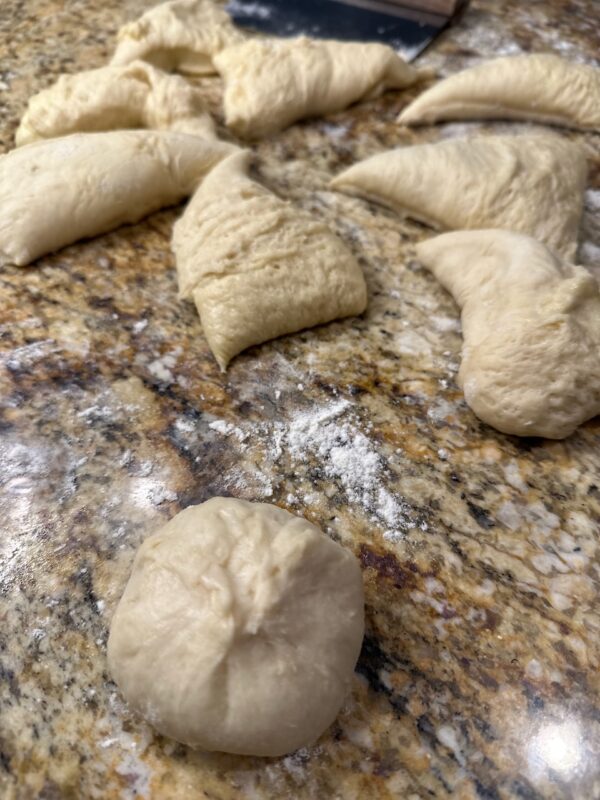
- Fold the dough over itself and into a round shape. Pinch the edges together and place the pinched side on the bottom. Cup your hand over the round roll and move your hand in a circular direction tightening the ball and forming it into more of a round. See the slight bit of flour on my counter in the prior pic ? Use small dustings of flour as needed to prevent the dough from sticking.
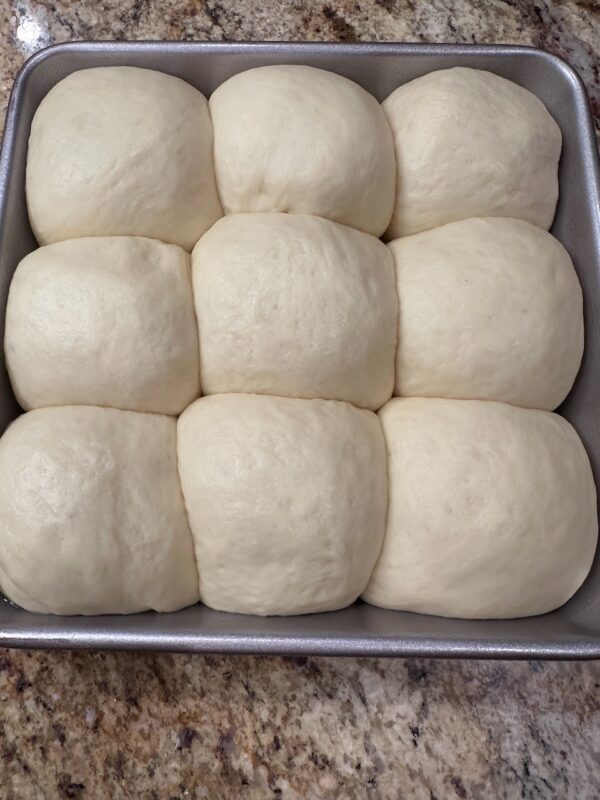
- Place the 9 rolls into a Buttered 8 or 9 inch square metal baking pan.
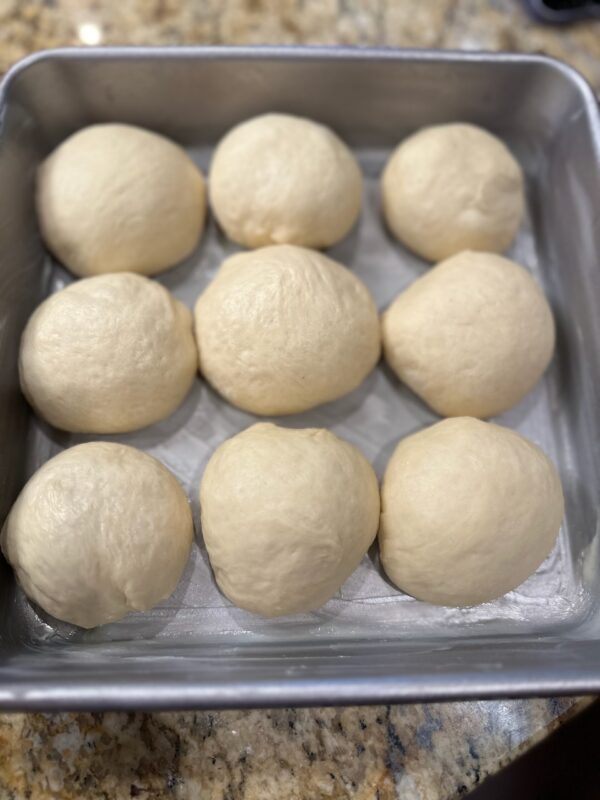
- Second Rise: Allow the buns to rise (cover with oiled or sprayed plastic wrap) another 1 hour or so - until once again doubled in size. (Preheat your oven at appx the 30 minute mark -- to 350℉)
- Bake the rolls till brown and cooked through - appx 190℉. You can do this by sight - with cooking time between 20 - 25 minutes.
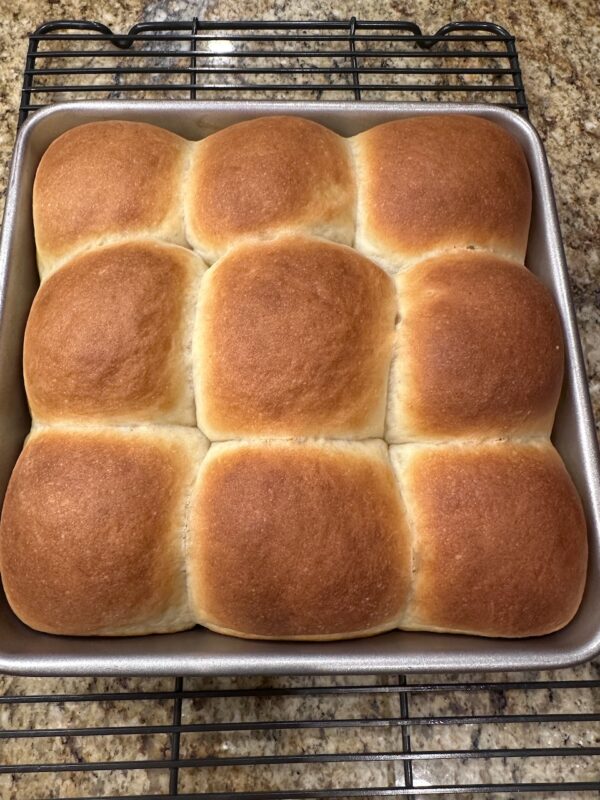
- Let the rolls sit in the pan - cooling for about 5 min before getting off onto the cooling rack.
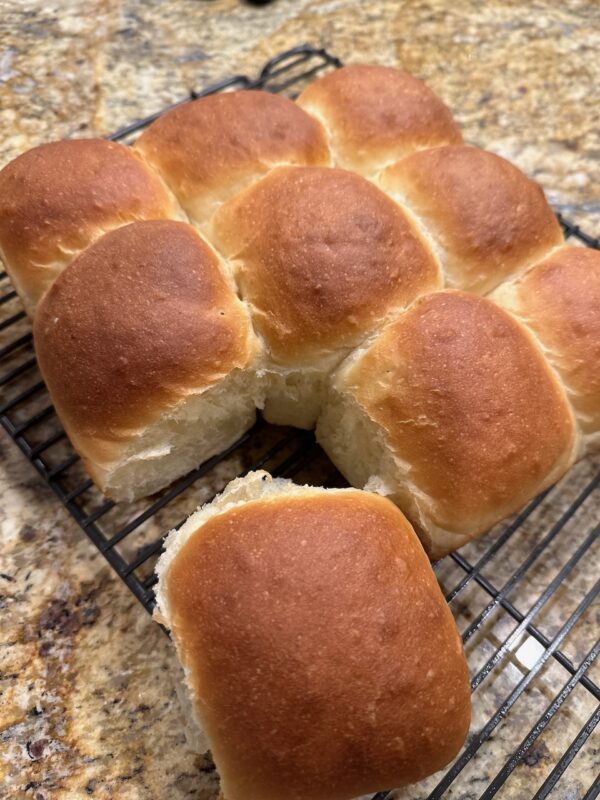
- Share your rolls with your friends and family. They will thank you.
- If you need even more butter - you could melt some butter and then brush it over the top of the warm rolls and let that soak in. Ha. These extra calories were not counted in the below nutrition tho.
Notes
Enjoy !
Nutrition
Calories: 215kcalCarbohydrates: 31gProtein: 5gFat: 8gSaturated Fat: 4gPolyunsaturated Fat: 1gMonounsaturated Fat: 3gTrans Fat: 0.2gCholesterol: 32mgSodium: 308mgPotassium: 127mgFiber: 1gSugar: 2gVitamin A: 185IUVitamin C: 4mgCalcium: 12mgIron: 1mg
Tried this recipe?Let us know how it was!