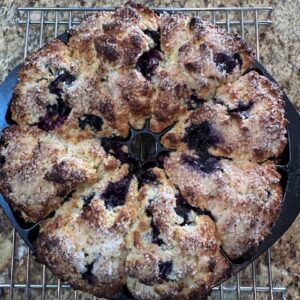
Base Scone Recipe
This is the recipe base I use for all of my scone creations. Different flavor scones are detailed out in my post - allowing you the flexibility to make the scone of your dreams...
Equipment
- Pastry Cutter
- Pastry brush
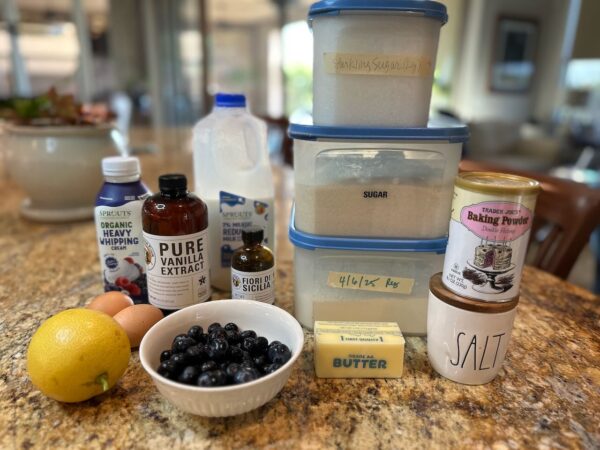
Ingredients
Dry Ingredients - Into a Large Bowl
- 2¾ C Flour
- ⅓ C Sugar
- ¾ tsp Salt
- 1 Tbl Baking Powder
Cut Into Dry Ingredients
- ½ C Unsalted Butter - 1 Stick COLD Butter Cut into Small Chunks
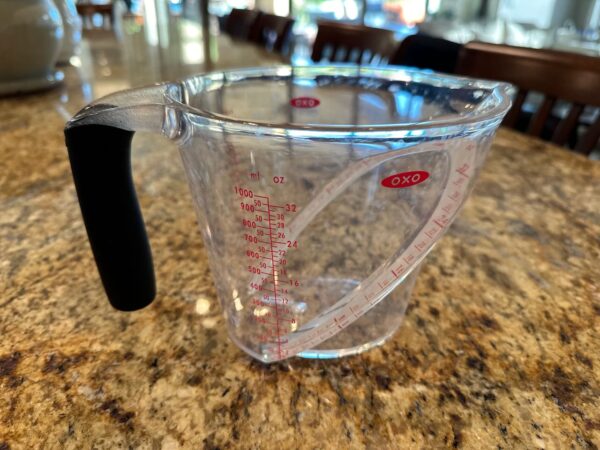
Wet Ingredients - Into a Large Measuring Cup or Medium Bowl
- ⅔ C Half and Half - Or Heavy Cream, or Milk
- 2 Large Eggs - Whisked
- 2 tsp Vanilla Extract - or Other Flavoring
Mix-Ins
- 1-2 C Dried Fruit / Nuts / Fresh Fruit / Flavored Chips - See Notes and Options !
Topping
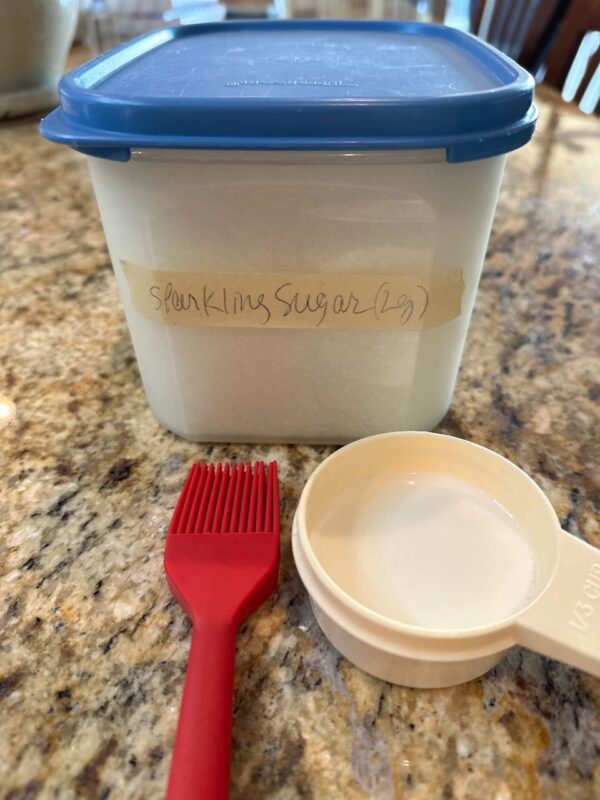
- 1 Tbl Half and Half - or Heavy Cream, or Milk
- 2-3 Tbl Sparkling Sugar
Instructions
- Get your ingredients together - based on the variety of scone you are making.
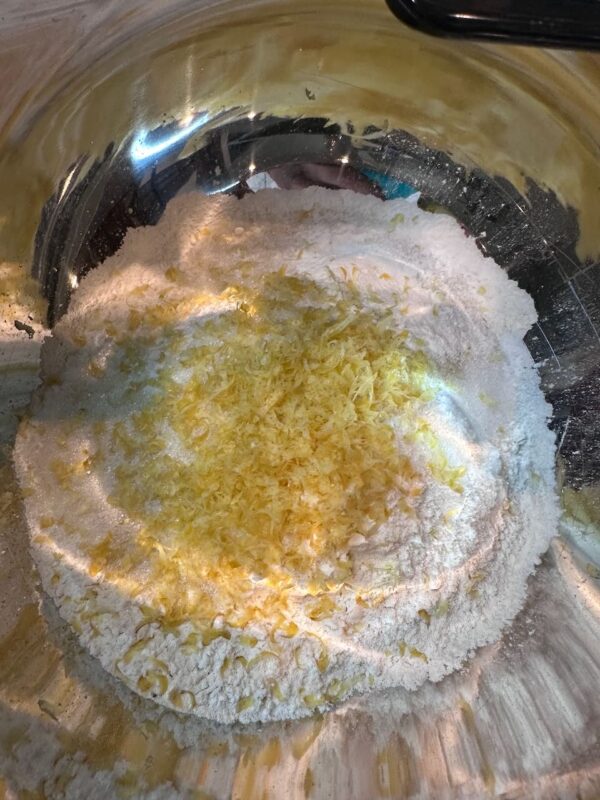
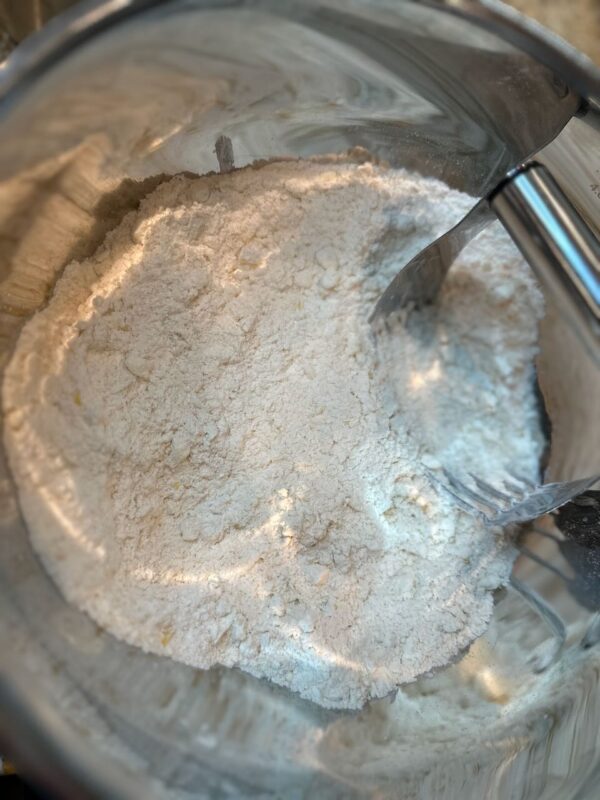
- Whisk together the dry ingredients in a large bowl.
- Measure out your wet ingredients and whisk in a large measuring cup or a medium bowl. (Half and half or heavy cream will make these scones delectable. You can, however, use milk. Gawd knows I've used milk many times - but they are best with half and half. )
- Ready your Topping - While the half and half (Milk etc.) is out - pour a bit into a small bowl or measuring cup and get your pastry brush and a spoon for the sparkling sugar.
- Be sure your butter is nice and COLD. Handle it as little as possible. Give yourself a leg up on the 'cutting in' of the butter by cutting the stick of butter lengthwise - into half and then again lengthwise into quarters. Then slice the butter quarters into small slices of 4 pieces. (In the picture it isn't clear that the pieces are all cut, but they are... )

- Use your pastry cutter to cut in the butter into the flour. I often use a knife to get the butter off the pastry cutter now and again. I also turn the bowl around as I use the pastry cutter along the edges. However you do it - you want the butter to be smaller than a pea. A lot of recipes say till pea sized - but I always go smaller than that. (This step takes some time - use your patience and muscles... )
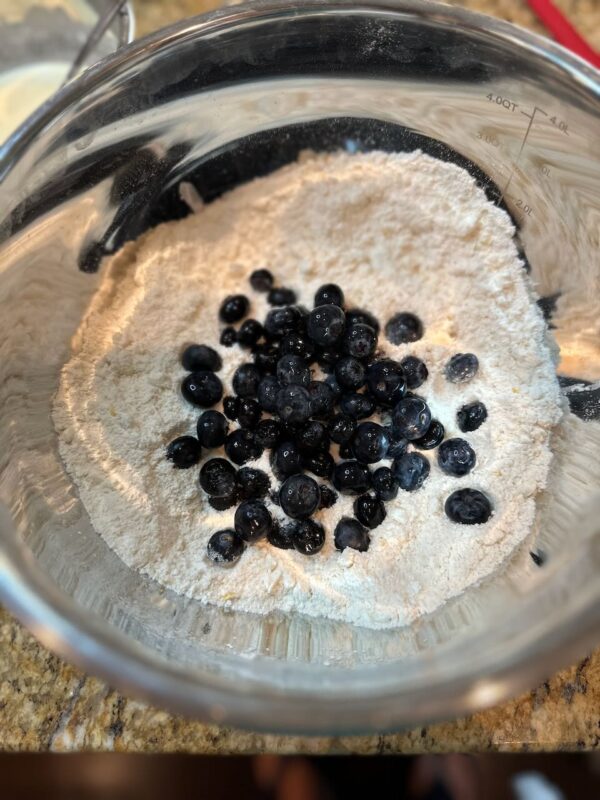
- Add in your Mix-In's to the flour and stir to distribute / coat in flour.
- Add the wet ingredients to the dry mix and stir just until fully combined. (pic is not of blueberry....it's cinnamon walnut or pecan but for reference.)

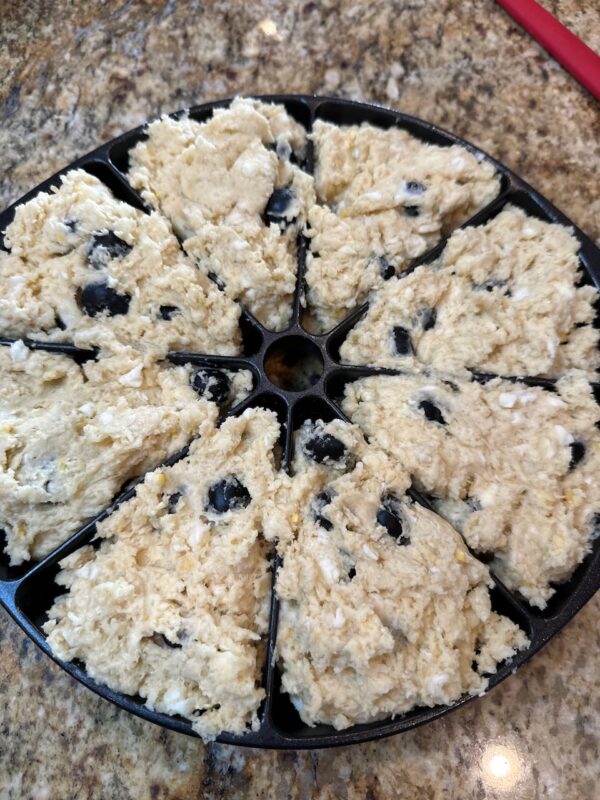
- Load up the scone pan by dropping bits of dough into the pan - to try to get the scones evened out. (Cinnamon again)
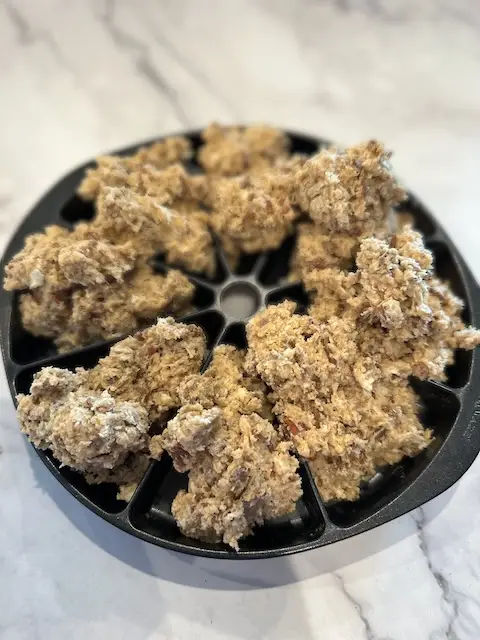
- Keep loading up the pan until all the dough is used. Press the dough into the corners and level out without using too much pressure... (Back to Lemon Blueberry)
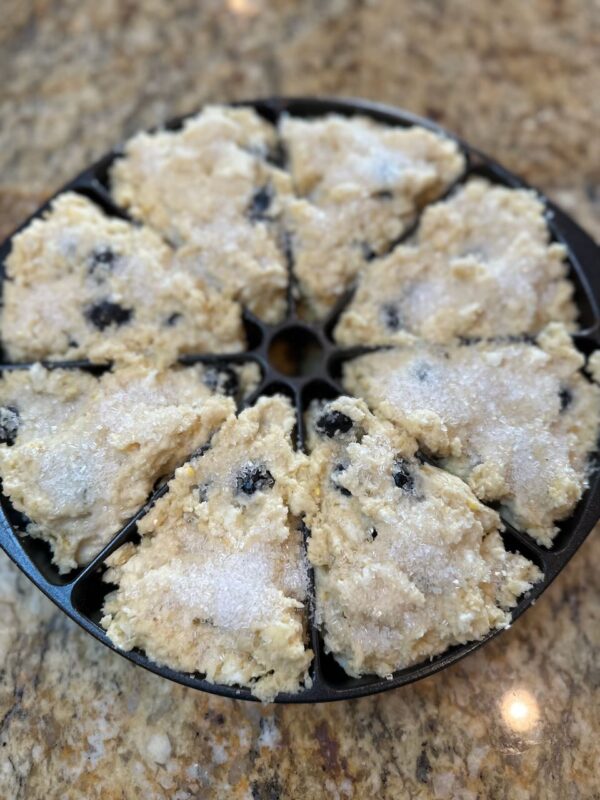
- Use the pastry brush to spread some of the half and half (or cream / milk) onto the tops of the scones. Then sprinkle some sparkling sugar onto the scones. (These babies are not on anyone's diet so go ahead and sugar liberally. It's a great crunch on top when baked!)
- IMPORTANT: Put the scones into the freezer (if you have room) or into the fridge for 30 minutes - while your oven heats to 425℉. This relaxes the gluten in the flour and chills the butter back up. (I believe this is one of the keys to these scones success!)
- Bake for 18-23 minutes. If the scones are from the freezer - probably need the higher end of time suggested. Hubster always tells me I tend to underbake the scones. So be careful and watch for them to turn light brown. If they are browning too early - put a piece of tin foil over the top.
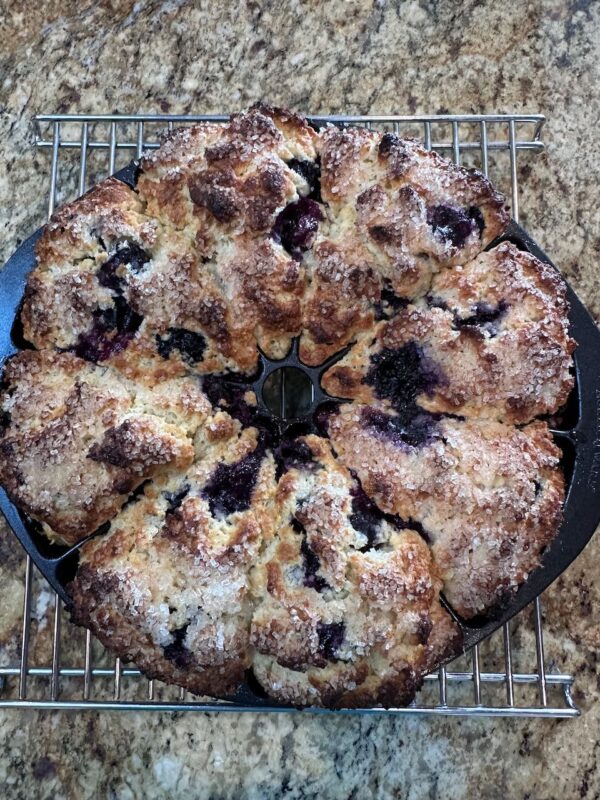
- Let the scones cool on a cooling rack for about 10 minutes - then carefully and with a silicone knife or silicone spatula - get the scones out of the pan to finish cooling on the rack. (I ruined a pan over the years due to use of knives and forks being used to lift the scones out of the pan...) It is at this point you can check the middle of the scones to ensure they are cooked through. If they are not, no sweat, pop those babies back into the hot oven for 5-7 min or so. Since they've cooled down you need a few minutes for them to get back up to temp and then bake some more. I, for sure, have underbaked my fair share of these scones. So take it with a grain of salt if you do underbake. Take note - and bake them longer next time!
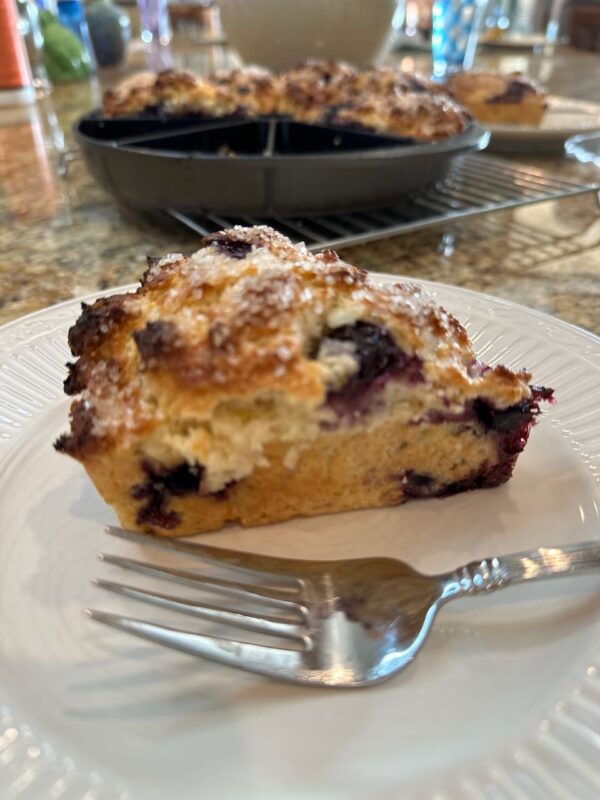
- Share these with your friends and family and try other varieties!
Notes
I had to turn off comments from this post. Somehow the russian hackers got ahold of this post and have been commenting all day every day - into the 10's of thousands that I have to review and delete.... Instead - send me good vibes if you like this recipe and tell a friend - the old fashioned way! 🤣
Nutrition
Calories: 441kcalCarbohydrates: 48gProtein: 8gFat: 25gSaturated Fat: 10gPolyunsaturated Fat: 4gMonounsaturated Fat: 9gTrans Fat: 0.5gCholesterol: 85mgSodium: 448mgPotassium: 149mgFiber: 2gSugar: 14gVitamin A: 507IUVitamin C: 0.3mgCalcium: 158mgIron: 3mg
Tried this recipe?Let us know how it was!