
Today, I’m sharing the recipe that’s been the talk of my neighborhood, friends and family for years and years. Hopefully soon, many more of you will be baking and trying out my scones! These aren’t your average (i.e. Starbucks), crumbly, nearly too dry scones. No, sir! These are the perfect treat – not a cake, not quite a muffin, but something wonderfully in-between, unique and utterly delicious. These are the kind of scones that makes you wish calories didn’t exist and you could have another!
As with all things in life, we learn as we go. We pick up good ideas here and there and incorporate them into our lives. For me – the tips and tricks that I pickup are very often food and cooking related. I took the base scone recipe from one of my favorite sites – King Arthur Flour. The base (plain) recipe can be found here. I have amended the recipe over the years – creating different scones with different add ins and flavors – keeping the base the same. It’s a reliable and flexible recipe.
I was *going* to become famous in the neighborhood and sell these scones and be *rich*. Ha, yeah, that was a plan for a few minutes. But then, I’d have to bake for a living, and baking for a living is what they call W-O-R-K. Instead, I get to tell you all about what’s going on in my kitchen and have fun baking and cooking and educating which is less work like – and more fun.
Find a job you enjoy doing, and you will never work a day in your life.
Over the years, I’ve developed countless variations and I’m excited to share all my “secrets” with you.
The Secrets to Scone Success
Let’s start with the basics. A great scone relies on a few key elements:
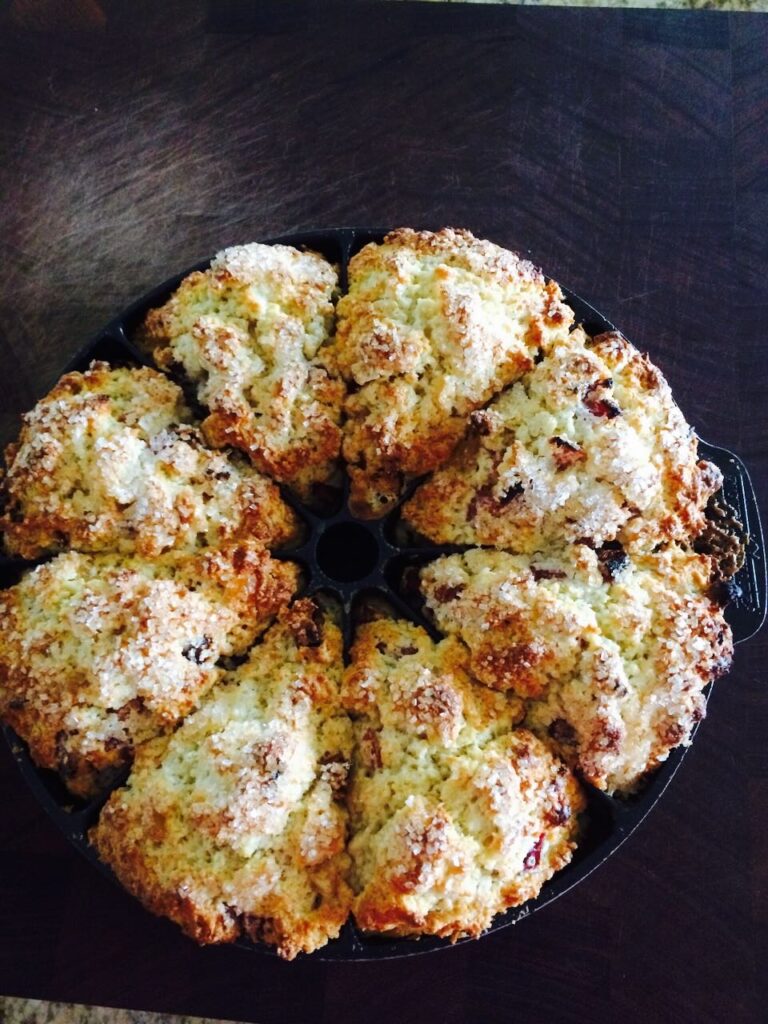
- The Right Tools: Forget trying to shape scones on a baking sheet. A proper scone pan is essential for achieving that classic wedge shape and even baking. The scones raise up – creating a nice tall treat – instead of spreading out on a baking sheet. I swear by my scone pan. It makes all the difference! I have been wanting the mini scone pan too – so that I could have less calories and still partake, but haven’t yet bought myself one. (Not sure what I’m waiting for!) I also swear by my manual cut in / hand held pastry cutter. I consider it a work-out to get the butter to the right consistency as I twirl around the bowl.
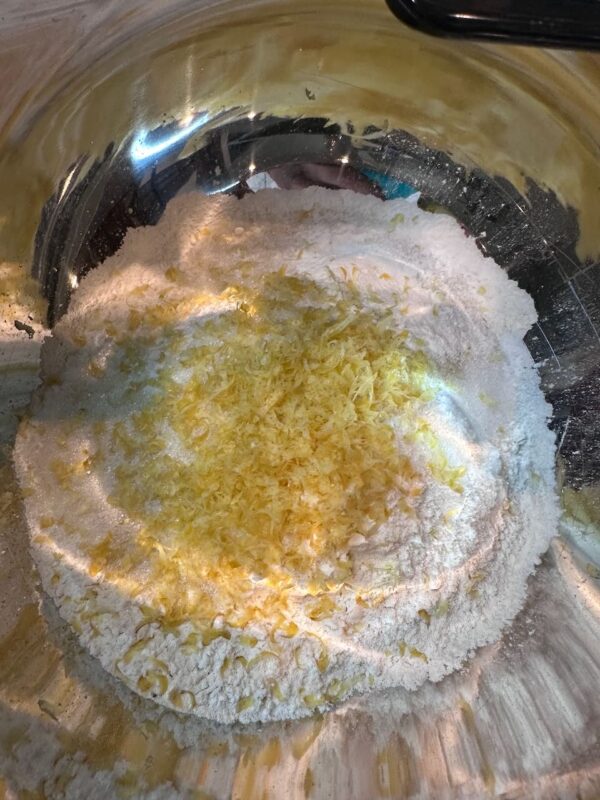
- Quality Ingredients: Just like any recipe, the quality of your ingredients matters. Use fresh butter, good quality flour, heavy cream or at least 1/2 and 1/2, and if you’re using extracts, opt for the real deal. Imitation vanilla just won’t cut it in these scones! I’m particularly fond of Fiori di Sicilia – which is a floral, lemony, orangey, amazing extract that you definitely need in your life. I have considered this extract the ultimate in baking secrets for years, and here I am spilling my guts… Honestly, you need to get some of this – and be sure to store it in your fridge once it is open. You can use it for anything with lemon or orange flavors or even when mixing ingredients like orange cranberry scones – you could sub in portion of the vanilla for Fior di Sicilia.
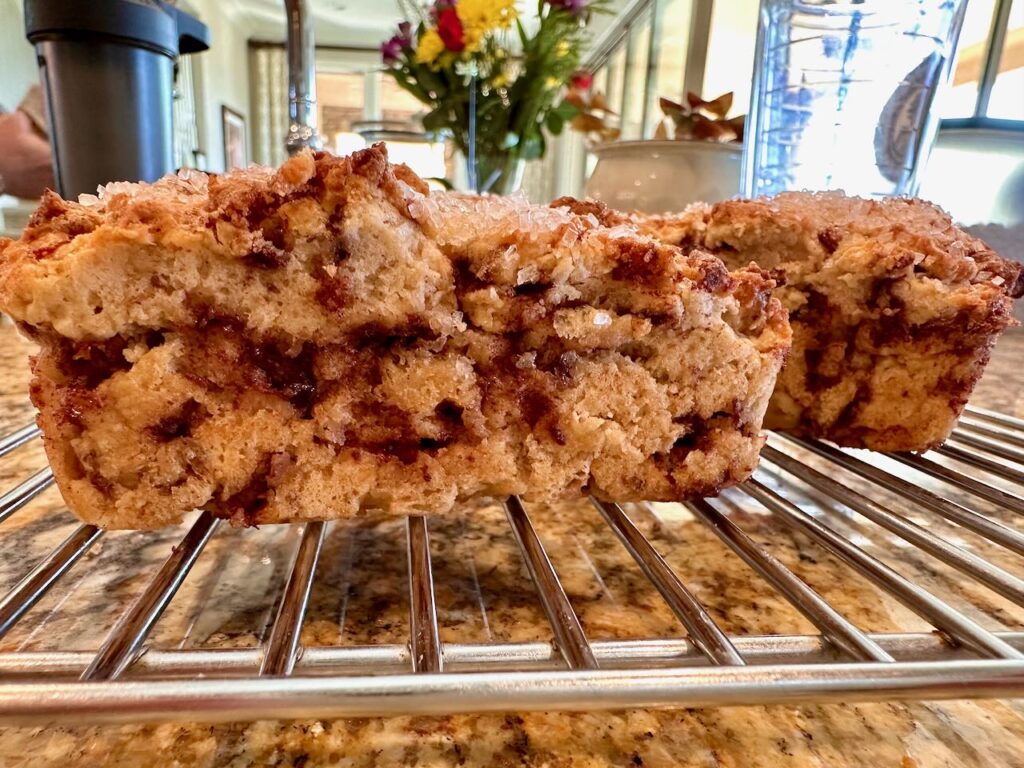
- The Perfect Balance: These scones are all about that perfect in-between texture. They’re not dry and crumbly like some scones you might have encountered, nor are they overly cakey or muffin-like. They have a tender crumb, a slight crumble, and just the right amount of moisture. This balance is achieved through the right combination of ingredients (cream) and techniques (pastry blender/refrigeration), which are described more below.
Fresh vs. Dried: A Fruity Dilemma
When it comes to adding fruit to your scones, you have two main options: fresh or dried. Both work, but they bring different qualities to the final product.
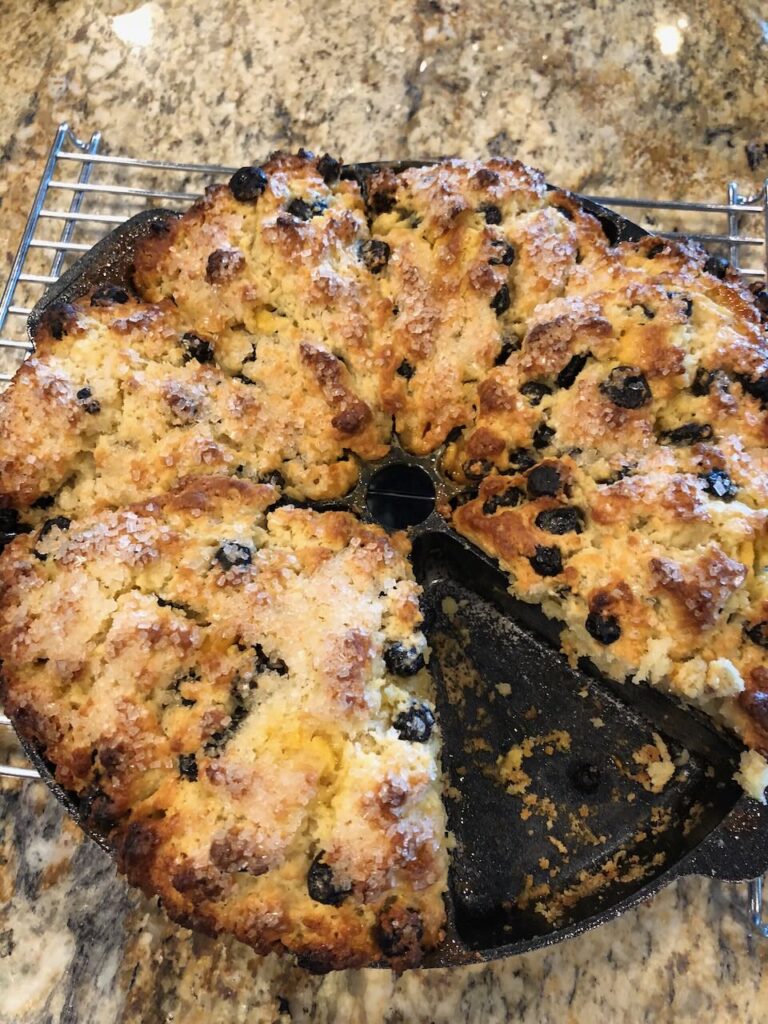
- Dried Fruit: Dried fruit, like cranberries, dried blueberries, or even diced crystalized (candied) ginger adds a concentrated burst of flavor and a chewy texture. The dried fruits also tend to absorb less moisture, resulting in a perfectly tender crumb. For a long while I only used dried fruit in my scones (as opposed to fresh). But then I tried fresh and it worked well too.
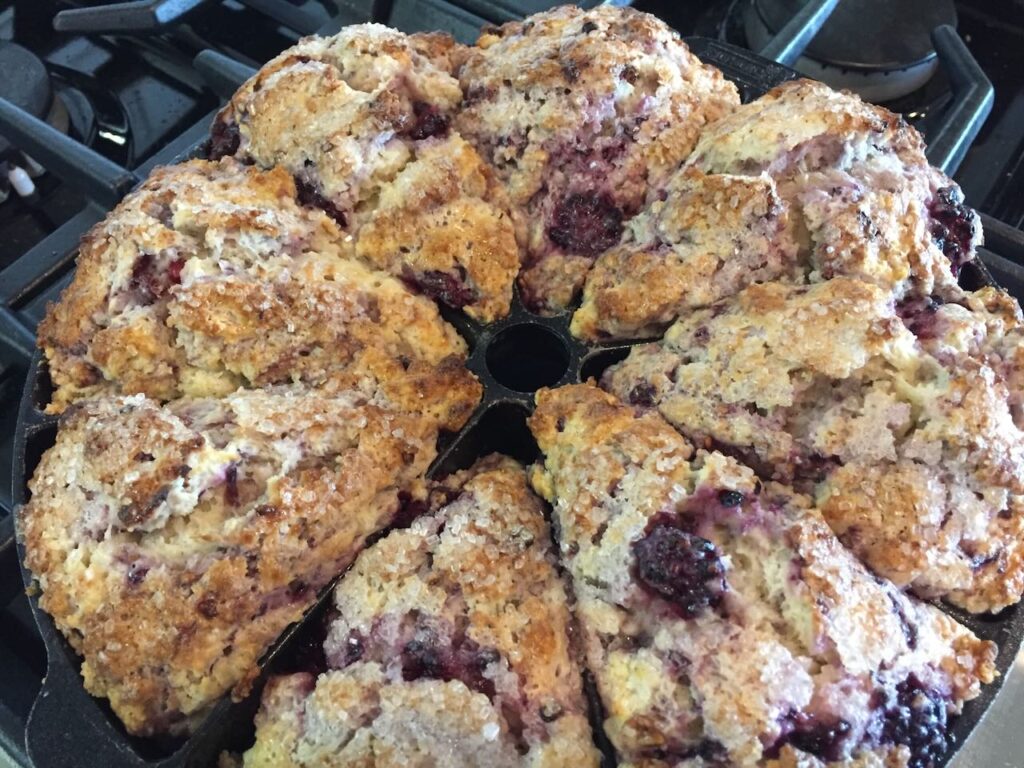
- Fresh Fruit: Fresh fruit, like berries or chopped peaches, adds a burst of juicy freshness. However, they also release more moisture during baking, which can make the scones a bit softer and a bit more difficult to tell if they are done baking. If using fresh fruit, be sure to choose fruits that aren’t overly watery and consider adding an extra tablespoon of flour before adding them to the dough to help absorb some of the excess moisture.
Beyond the Basics : My Favorite Flavor Variations
Now for the fun part – flavor variations! Once you’ve mastered the base recipe, the possibilities are endless. Here are a few of my favorites:
- Bridget’s Favorite : Lemon Ginger : Add 1 large or two small lemons worth of zest to the dry ingredients. Substitute 1.5 tsp of Fiori di Sicilia extract or 2 tsp lemon extract in place of the vanilla extract. Dice up 1/2 – 3/4 C of crystalized / candied or mini diced ginger as your mix in. (Before deciding how much ginger to use – be sure to take a bite and see how spicy your ginger is… and then determine how much you want to add to the mix.)
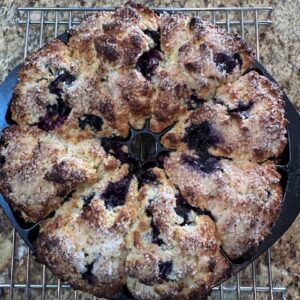
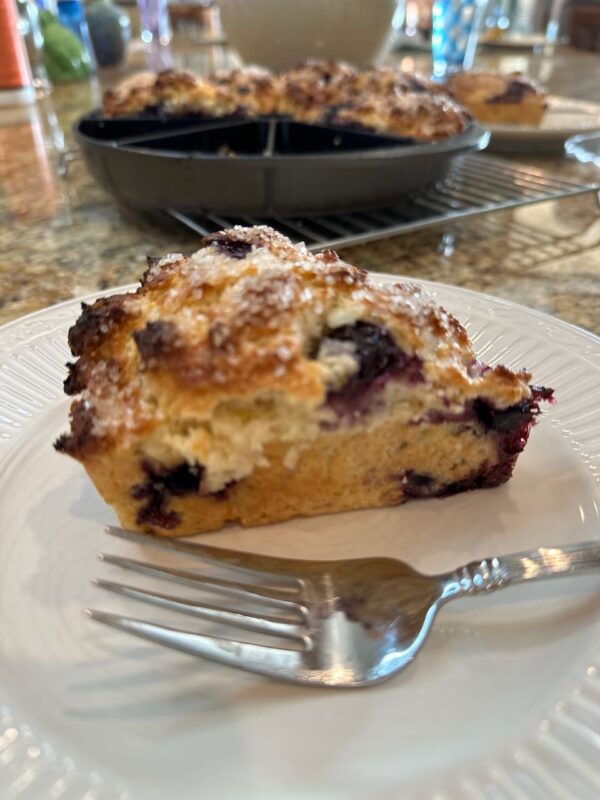
- Bridget’s Other Favorite : Lemon Blueberry : Add 1 large or two small lemons worth of zest to the dry ingredients. Substitute 1.5 tsp of Fiori di Sicilia extract or 2 tsp lemon extract in place of the vanilla extract. Use 1 – 1.5 C of Blueberries (dried or fresh) as your mix-in.
- Bridget’s Third Favorite : Lemon Poppyseed : Add 1 large or two small lemons worth of zest to the dry ingredients. Substitute 1.5 tsp of Fiori di Sicilia extract or 2 tsp lemon extract in place of the vanilla extract. Also add 1.5 Tbl of poppyseeds to the mixture.
- Dave’s Favorite : Cinnamon Pecan or Cinnamon Walnut : Dave says these are the best scones on the planet. No contest. (He obviously doesn’t like lemon as much as I do…) Add 1 Tsp of cinnamon to the dry mixture. Toast up 1 C of Walnuts or Pecans – in a 350 degree oven for 5 minutes. Let cool, then rough chop. Use 1 C of nuts plus 1 C + of Cinnamon Chips as your mix-in.
- Chocolate Chip: Use about 1.5 C – 2C of chocolate chips as your mix-in.
- White Chocolate Raspberry : Use 1 C white chocolate chips + 1 C plus of raspberries as your mix-in.
- White Chocolate Cherry : Use 1 C white chocolate chips + 1 C plus of dried Cherries as your mix-in. (I don’t like cherries…but made these for the neighbors once and they loved them!)
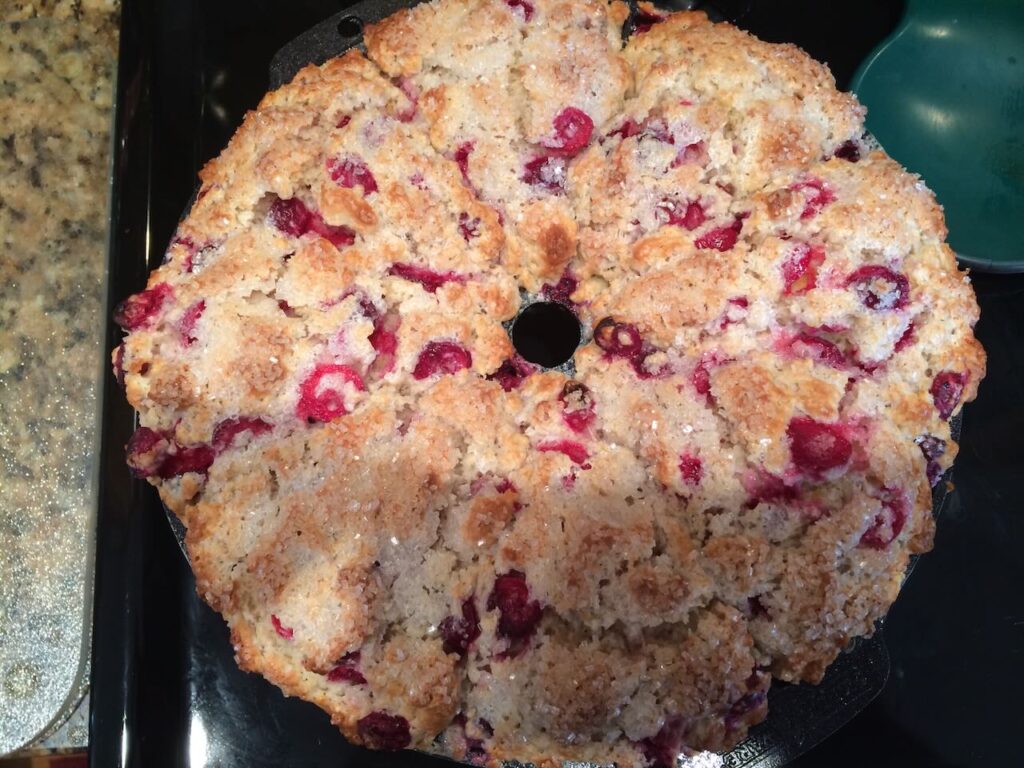
- Orange Cranberry : Use 1 orange worth of zest in the dry mixture. Substitute 1.5 tsp of Fiori di Sicilia extract in place of the vanilla extract. (If you don’t have the Fiori di Sicilia, just use the vanilla.) Juice 1/2 of the orange (or all of the orange depending on how juicy it is) and replace 1:1 for the cream. (Use 2/3 C liquid in total per the recipe) Rough chop 1C of cranberries and use as your mix-in.
- Savory Cheddar Herb: Omit all but a Tbl of sugar and add shredded cheddar cheese (1C plus) and your favorite herbs (Couple Tbl fresh or couple tsp dried) for a savory delight. (Skip Topping !) Think about using crispy bacon in this one too !!!!
Serving and Storing your Scones
These scones are best enjoyed warm, with a cup of coffee. I never add anything to my scone. However, they are traditionally served with a dollop of clotted cream or your favorite jam. The sconees will keep well for a few days on a plate with plastic wrap at room temperature. You can even freeze them for longer storage. Just wrap them individually and store in a freezer zip lock and thaw them at room temperature or reheat them in the oven.
So there you have it. My (soon to be) world-famous scone recipe! I encourage you to give it a try and let me know what you think. And, don’t be afraid to experiment with different flavors and ingredients.
Happy Baking !
Base Scone Recipe
Equipment
- Pastry Cutter
- Pastry brush
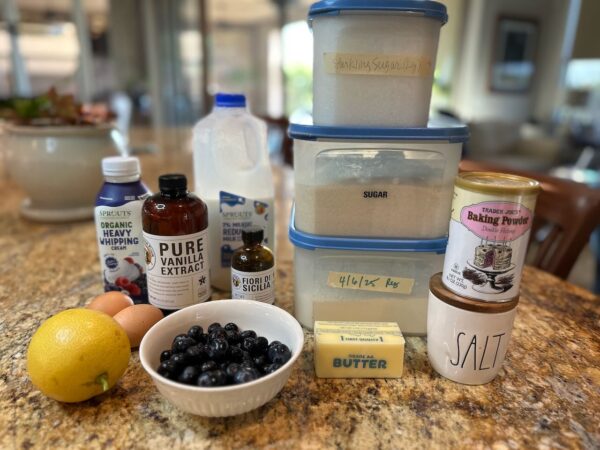
Ingredients
Dry Ingredients – Into a Large Bowl
- 2¾ C Flour
- ⅓ C Sugar
- ¾ tsp Salt
- 1 Tbl Baking Powder
Cut Into Dry Ingredients
- ½ C Unsalted Butter – 1 Stick COLD Butter Cut into Small Chunks
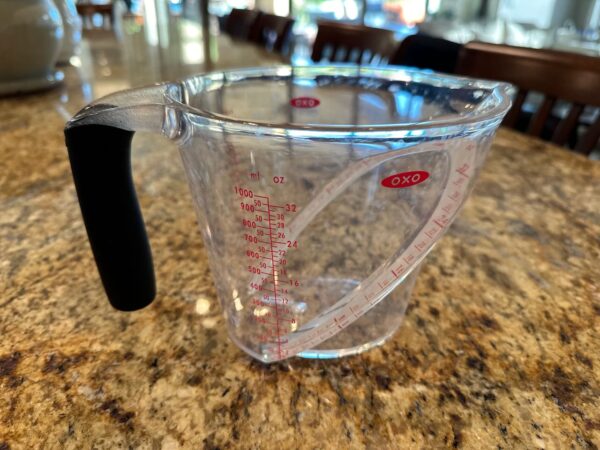
Wet Ingredients – Into a Large Measuring Cup or Medium Bowl
- ⅔ C Half and Half – Or Heavy Cream, or Milk
- 2 Large Eggs – Whisked
- 2 tsp Vanilla Extract – or Other Flavoring
Mix-Ins
- 1-2 C Dried Fruit / Nuts / Fresh Fruit / Flavored Chips – See Notes and Options !
Topping
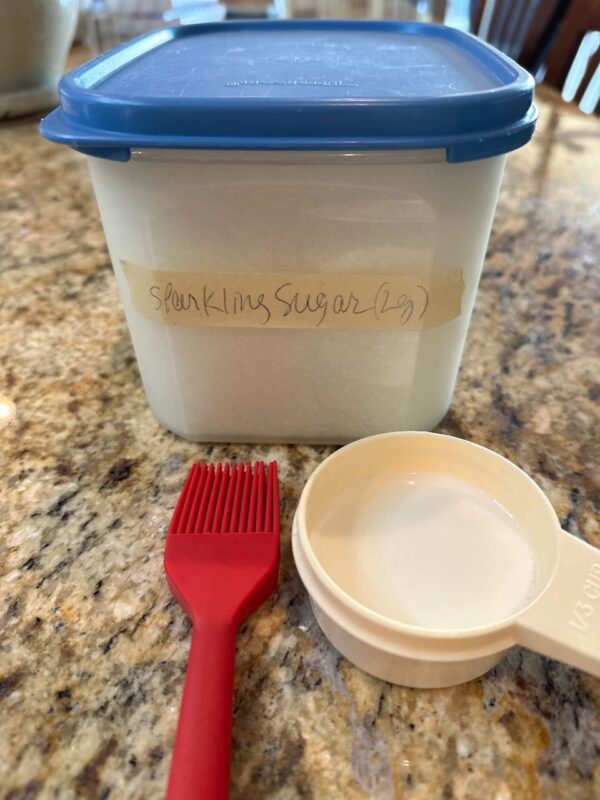
- 1 Tbl Half and Half – or Heavy Cream, or Milk
- 2-3 Tbl Sparkling Sugar
Instructions
- Get your ingredients together – based on the variety of scone you are making.
- Whisk together the dry ingredients in a large bowl.
- Measure out your wet ingredients and whisk in a large measuring cup or a medium bowl. (Half and half or heavy cream will make these scones delectable. You can, however, use milk. Gawd knows I've used milk many times – but they are best with half and half. )
- Ready your Topping – While the half and half (Milk etc.) is out – pour a bit into a small bowl or measuring cup and get your pastry brush and a spoon for the sparkling sugar.
- Be sure your butter is nice and COLD. Handle it as little as possible. Give yourself a leg up on the 'cutting in' of the butter by cutting the stick of butter lengthwise – into half and then again lengthwise into quarters. Then slice the butter quarters into small slices of 4 pieces. (In the picture it isn't clear that the pieces are all cut, but they are… )

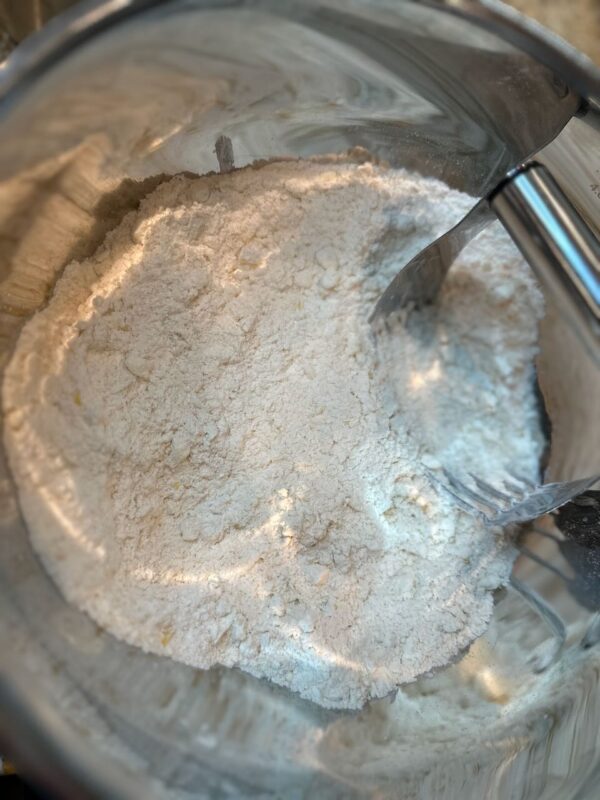
- Use your pastry cutter to cut in the butter into the flour. I often use a knife to get the butter off the pastry cutter now and again. I also turn the bowl around as I use the pastry cutter along the edges. However you do it – you want the butter to be smaller than a pea. A lot of recipes say till pea sized – but I always go smaller than that. (This step takes some time – use your patience and muscles… )
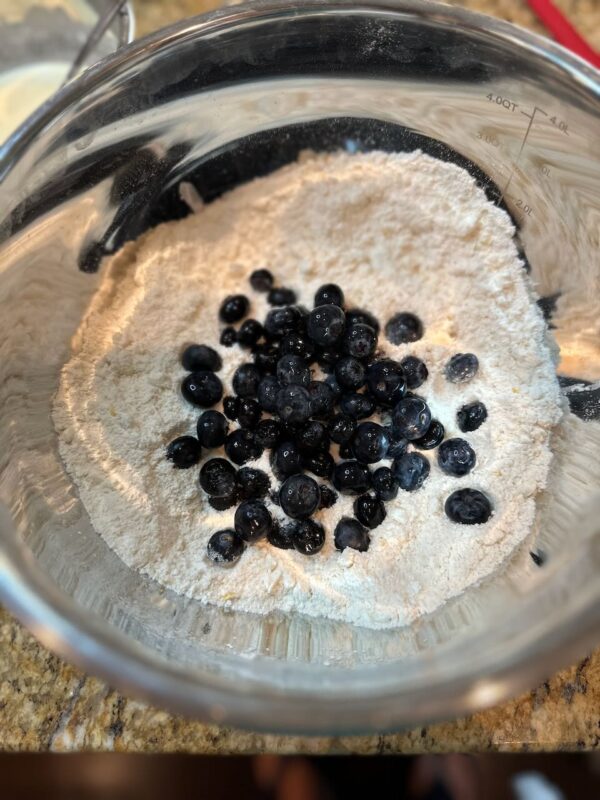
- Add in your Mix-In's to the flour and stir to distribute / coat in flour.
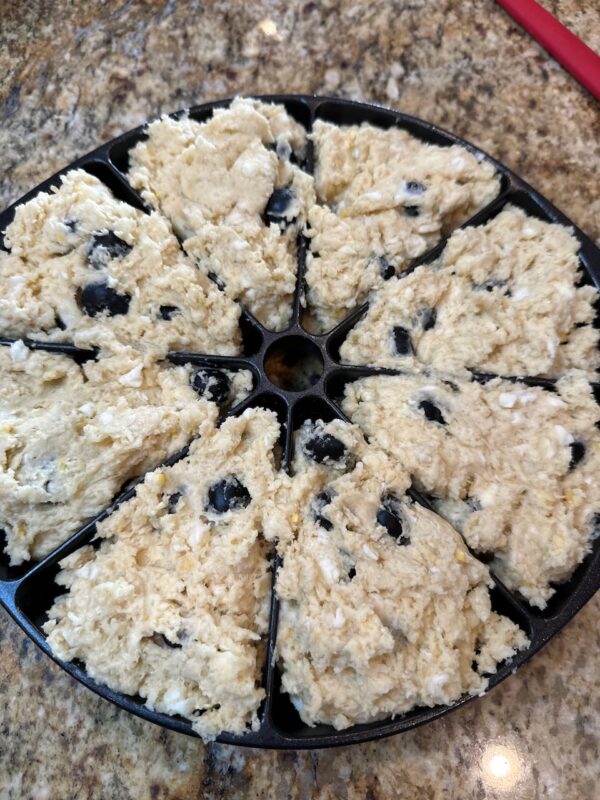
- Add the wet ingredients to the dry mix and stir just until fully combined. (pic is not of blueberry….it's cinnamon walnut or pecan but for reference.)

- Load up the scone pan by dropping bits of dough into the pan – to try to get the scones evened out. (Cinnamon again)
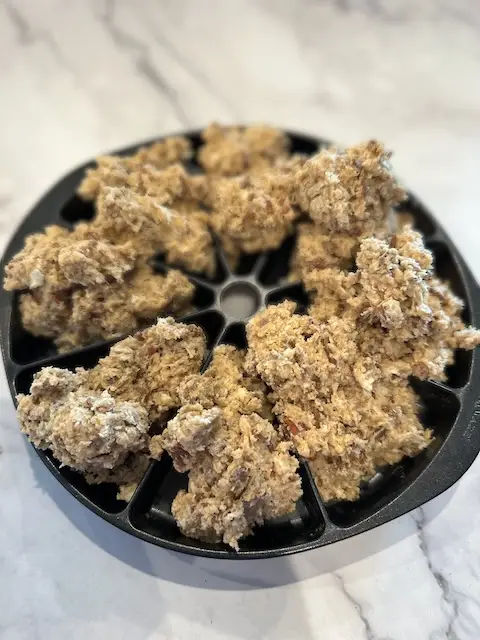
- Keep loading up the pan until all the dough is used. Press the dough into the corners and level out without using too much pressure… (Back to Lemon Blueberry)
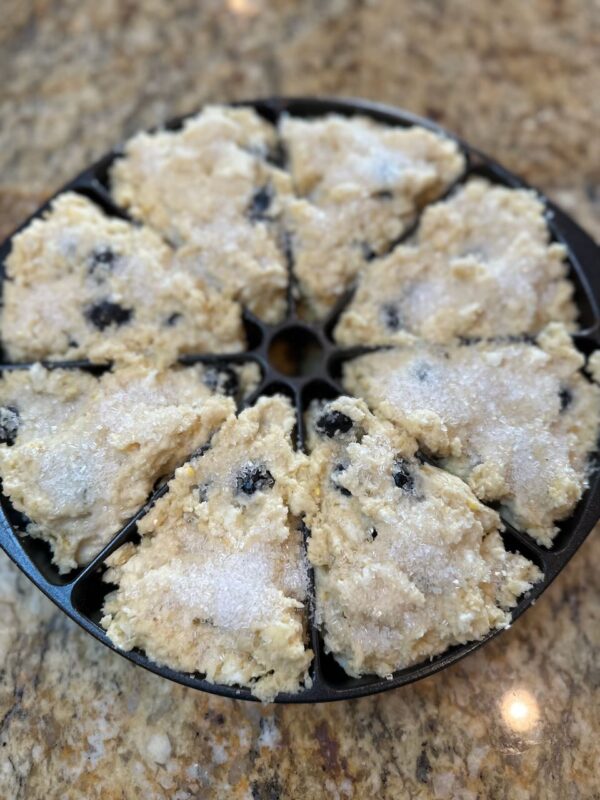
- Use the pastry brush to spread some of the half and half (or cream / milk) onto the tops of the scones. Then sprinkle some sparkling sugar onto the scones. (These babies are not on anyone's diet so go ahead and sugar liberally. It's a great crunch on top when baked!)
- IMPORTANT: Put the scones into the freezer (if you have room) or into the fridge for 30 minutes – while your oven heats to 425℉. This relaxes the gluten in the flour and chills the butter back up. (I believe this is one of the keys to these scones success!)
- Bake for 18-23 minutes. If the scones are from the freezer – probably need the higher end of time suggested. Hubster always tells me I tend to underbake the scones. So be careful and watch for them to turn light brown. If they are browning too early – put a piece of tin foil over the top.
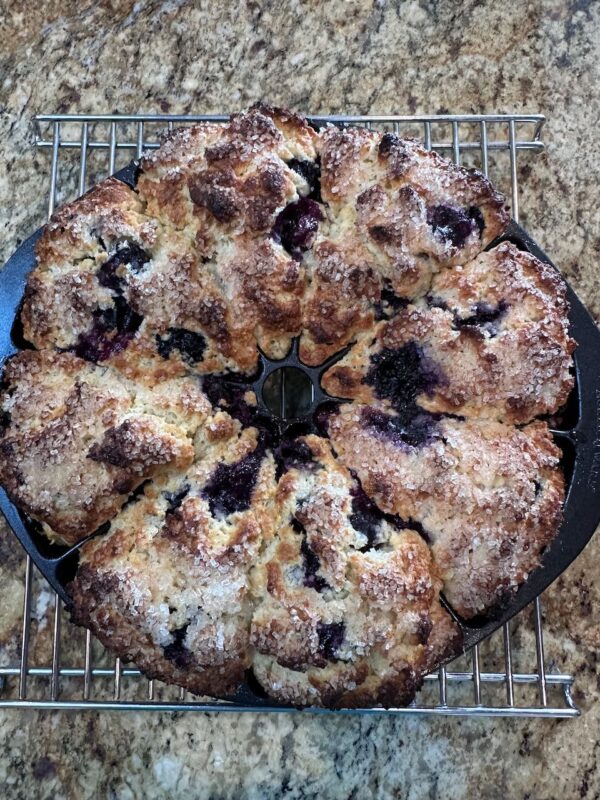
- Let the scones cool on a cooling rack for about 10 minutes – then carefully and with a silicone knife or silicone spatula – get the scones out of the pan to finish cooling on the rack. (I ruined a pan over the years due to use of knives and forks being used to lift the scones out of the pan…) It is at this point you can check the middle of the scones to ensure they are cooked through. If they are not, no sweat, pop those babies back into the hot oven for 5-7 min or so. Since they've cooled down you need a few minutes for them to get back up to temp and then bake some more. I, for sure, have underbaked my fair share of these scones. So take it with a grain of salt if you do underbake. Take note – and bake them longer next time!
- Share these with your friends and family and try other varieties!