
Easy as Pie? Maybe easier…
Hey there, friends! I’m so thrilled you’re here in Bridget’s Kitchen today. If you’ve been hanging out with me for a while, you know I love keeping things simple and real in the kitchen—no fancy stuff, just good food that makes everyone smile. Today, we’re diving into an easy homemade pie crust that’s my go-to for everything from cozy chicken pot pies to sweet fruit delights. It’s super straightforward, forgiving even if you’re new to this, and we’ll chat about a few tricks to make it your own. Let’s get rolling!
Pick Your Flour for Perfect Flake
Pastry flour is recommended—its lower protein content (around 8-9%) means tender layers without any chewiness. Pastry flour is made for … pastry doughs… e.g. pie dough. If you don’t have it on hand, no worries! A half-and-half mix of cake flour (5-8% protein ) and all-purpose flour (~12% protein) works wonders as a substitute. And if all you’ve got is straight all-purpose flour for those 3 cups, go for it—it’ll still turn out delicious, just a smidge sturdier.
The key is that lower protein helps create those flaky pockets, perfect whether you’re prepping dinner or dessert. If you are going to be making a lot of pie crust – it might be worth it to stock up on Pastry Flour.
As a similar reference point… think about the last cake you had. The crumb of the cake (the actual cake part) was it light and airy and moist and yummy ? Or was it dense and chewy and thicker than you thought it should be? The culprit is the flour. Less protein in the flour (i.e. Cake Flour) will result in lighter / airier cake. Add more AP flour – and the cake gets more dense. Same principle applies to pastry / pastry flour. You want your Apple Dumpling to be light and flaky (?) – use pastry flour. 😀
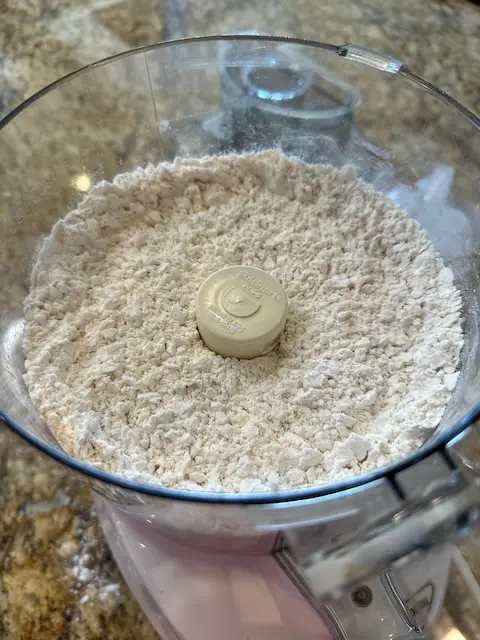
As you can see, I didn’t have pastry flour so I blended the AP + Cake flour – reducing the protien to that more similar to pastry flour.
Sweet or Savory? You Decide!
This dough is versatile! If you’re whipping up a fruit pie, toss in a couple tablespoons of sugar to the dry mix—it will add a subtle sweetness that will play nicely with the filling and helps with golden browning.
But for something savory like a chicken pot pie (hint: that’s our next adventure together!), skip the sugar entirely. You want a neutral, buttery base that lets the herbs, veggies, and creamy goodness shine through.
Same recipe, two totally different vibes—love that!
Baking Powder: Your Flaky Insurance
Here’s a little insurance policy I just learned about. Add a bit of baking powder to the crust. Just a teaspoon creates those tiny air bubbles that lift everything up, making sure your crust stays light and tender instead of turning dense. It’s like a safety net for flakiness, especially if things get a tad overworked. Who couldn’t use a little extra insurance ?
If you’d like to learn more about baking powder in pie crust – check out this post from the Kitchn
Vinegar: The Crispness Trick
Some folks (including me… sometimes…) add a Tablespoon of vinegar to their ice water. Why? The acid helps break down the gluten just enough to keep things extra crisp and prevent toughness—great if you’re making a double crust or handling the dough a lot. It’s such a little bit – you don’t even taste it in the crust.
To read more about acid or vinegar in pie crust check this post from KAF.
Double Insurance: Baking Powder + Vinegar
Pro move: Use both the baking powder and vinegar together! It’s double the tenderness insurance, giving you that shatteringly flaky result without any extra effort. Trust me, your pies will thank you.
Ice Water: Add It Slow and Steady
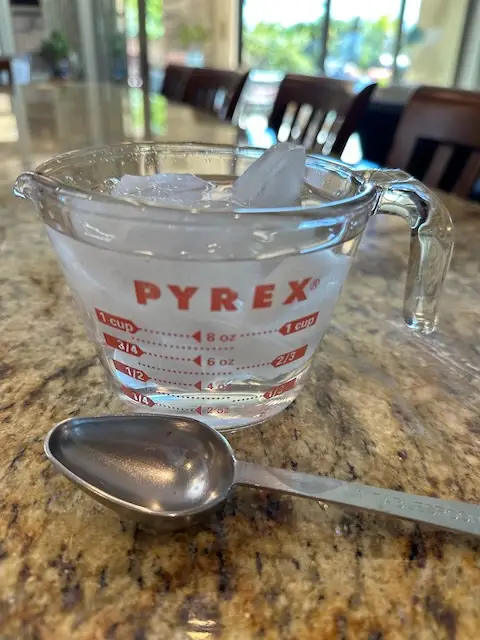
Ice water is your best friend here—keep a measuring cup full of it (with actual ice cubes) ready to go. (This is where you add the vinegar to the ice water – if you are using it).
Add ice water tablespoon by tablespoon to the flour, mixing gently until the dough just starts to come together and looks right. What does “looks right” mean? It should be shaggy with some dry bits, but when you squeeze a handful, it holds without crumbling or feeling sticky.
If the dough is too dry, it will crack when rolling; too wet, and you’ll end up with a tough crust. You’ll get the feel after a couple tries—promise!
Just remember… no one is perfect. And… No sane person is going to complain about your homemade pie crust. Your family / guests are just happy that you love them enough to spend time in the kitchen and treat them to a pie.
Butter vs. Butter + Shortening
When it comes to fats, butter gives you that rich, unbeatable flavor and a beautiful crisp flake, plus it browns up gorgeously. But if you mix in some shortening (like half butter, half Crisco), it makes the dough easier to handle and even more tender since shortening doesn’t melt as fast. Just a note: Crisco and similar shortenings are super processed and have those trans fats we try to avoid these days, so I lean toward all butter for healthier vibes when I can. But as always, it’s your kitchen – so use the ingredients you want to use !
Food Processor or Pastry Cutter?
Food processor: Makes quick work of cutting in the fat—pulse it in seconds, add your liquids, pulse a bit more – and you’re done. But then…. you’ve got to wash and dry that whole setup, which can take longer than making the dough itself!
Pastry cutter (or two forks): Old-school elbow grease builds character, leaves butter chunks intact, and means zero extra dishes.
Either way is totally fine—pick what suits your mood. The real key is testing the dough: When you dump it onto the counter, it should come together easily just by pressing it with your hands. No kneading needed! (Please – no kneading pie dough!)
Butter Bits & the Overwork Myth
Don’t forget to watch those butter bits—aim for pea-sized or a touch smaller to create steam pockets for ultimate flake. (For reference, ha, those are the “official directions”.) The butter needs to be super cold. Frozen even. Some recipes call for freezing the butter AND the flour….
I admit, I routinely cut in my butter more than the experts say, ending up with bits of butter much smaller than a pea… but that’s just me. No explanations possible…just always have. (Probably always will…). No one’s ever complained about my homemade pie crusts. In fact, some folks rave that the crust is REALLY good!
The big rule: Try not to overwork the dough once the water’s in, or you’ll melt the butter and toughen the gluten. Keep it quick and cool.
Weigh, Chill, and Relax

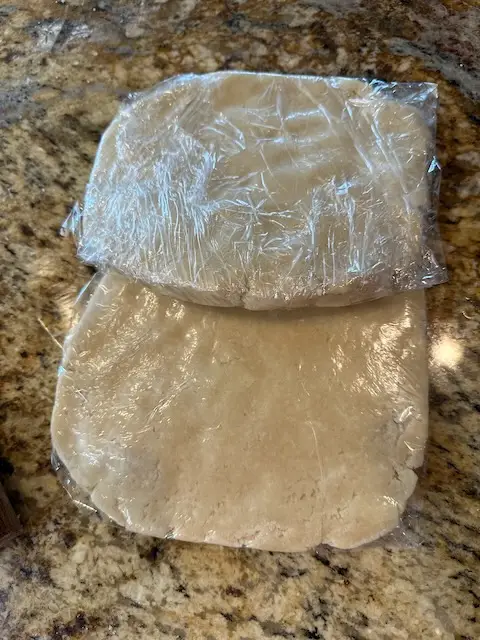
Finally, after forming the dough, weigh those halves before chilling—aim for about 12-14 ounces each to keep things even. Make the bottom portion a smidge larger (like a 60/40 split) so it fits the pan nicely without stretching. Wrap ’em up, pop in the fridge for at least an hour (or up to three days), and let that gluten relax. It makes rolling a breeze and prevents shrinkage in the oven.
Should I make a Double Crust – Even if I only need One Crust Now?
Yes Yes YES !!!! Here’s the deal. The dishes are dirty. The flour is out. Your butter is freezing cold – and it only takes a few minutes to make a double crust instead of a single crust. Pat the dough out all the same – but wrap one extra good in cling wrap – doing your best to get all the air out. Then wrap in tin foil and place in a freezer bag. Don’t forget to write on the freezer bag the date and that it’s a pie crust. 😳 (Ha – you would understand if you could see my freezer.)
You can safely store the pie crust for up to 3 months with no issue. Defrost in your fridge – and then continue on as normal with the recipe. (sorta like purchasing a pre-made crust – only no chemicals and much cheaper!)
I have had pie crusts in the freezer longer than 3 months – thawed them, and prepared dinner and we were unable to differentiate that it wasn’t a freshly made pie crust. If you did a side by side test, I’m sure you could figure out which was fresh, but a frozen homemade pie crust still beats the pants off a purchased premade pie crust! Warning: Use common sense if the pie crust has fallen to the back of the freezer and it’s been a loooong time. Toss that dough out and start fresh.
OK ! You’ve got this, kitchen stars! This crust is going to elevate your next pie game big time. Stay tuned for that chicken pot pie post coming up.

Easy Homemade Pie Crust: The only recipe you’ll ever need
Equipment
- Food Processor OR Pastry Cutter My Grandma used to use 2 knives…
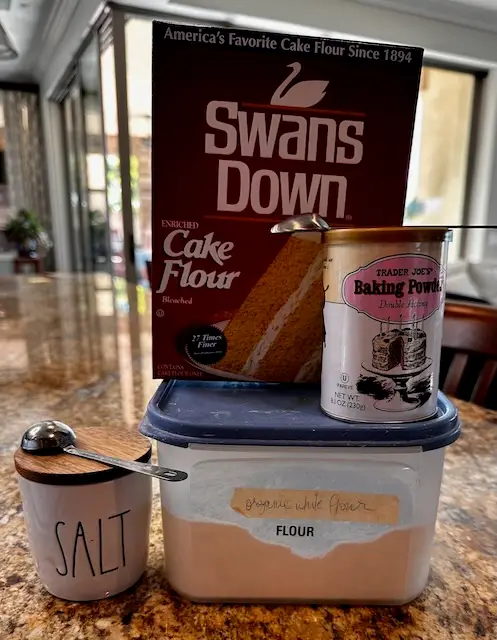
Ingredients
- 3 C Flour – pastry, half cake/half AP, or all AP—see notes above
- 1 C Butter – Cold or Even Frozen – all butter, or ½ cup butter + ½ cup shortening—see butter notes
- 1 Tsp Salt
- 1 Tsp Baking Powder
- 3/4 C Ice Water
- 1 Tbl Vinegar – Optional – Place in the Ice Water if Using
- 2 Tbl Sugar – Only if making a Sweet Pie
Instructions
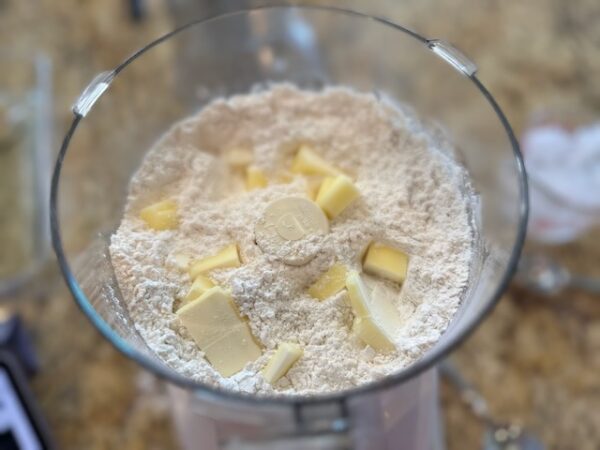
- In a large bowl or food processor, whisk together the flour, salt, sugar (if using), and baking powder.
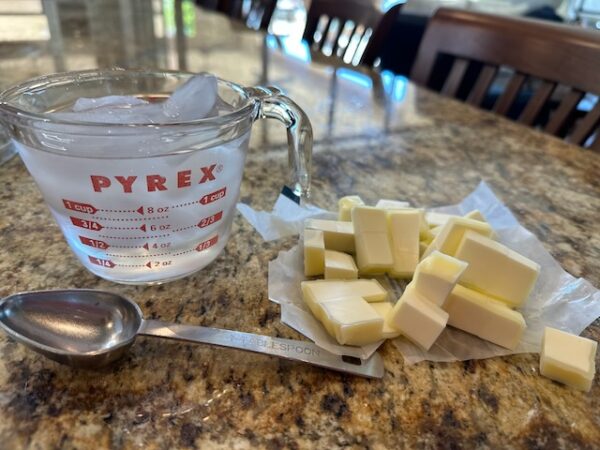
- Cut the butter or cold Crisco into chunks before adding to the processing / using the pastry cutter. I cut the butter in half, and then in half again (length-wise) and then cut slices… so I have nearly pea sized cubes to start – minimizes the need for the processor to warm up the butter and work more than it needs to.
- Cut in the butter until the mixture resembles coarse crumbs with pea-sized bits—pulse if using a processor, or use a pastry cutter/forks by hand. I added my butter in two steps (two sticks) so I didn't have to pulse too long making butter melty.
- Stir the vinegar (if using) into the ice water.
- Add ice water 1 tablespoon at a time, mixing lightly with a fork or pulsing the food processor until the dough just holds together when squeezed. The dough should look rough and clumpy.
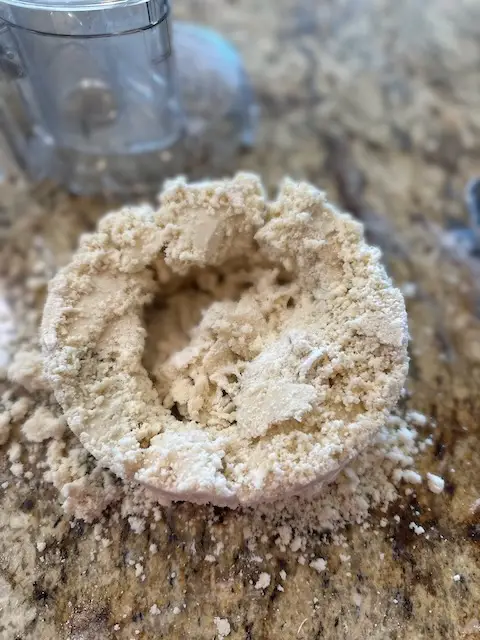
- Dump the dough onto a lightly floured counter and gently press into a cohesive ball—add a splash more water if it's too crumbly. (Note my dough went from the prior picture to these clumps just by pressing the dough together into a lump.)
- Divide dough into two portions (bottom slightly larger), flatten into disks, wrap in plastic, and chill in the fridge for at least 30 minutes. Ideally an hour or two or even overnight.
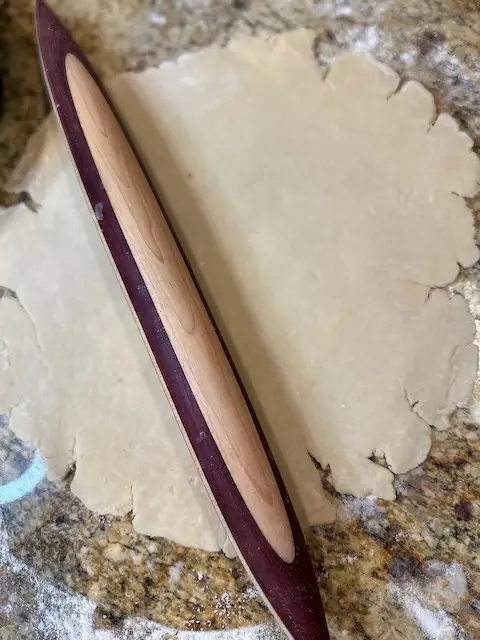
- When ready to bake – roll out on a floured surface to about 12 inches, fit into your pie pan, add filling, top with the second crust, crimp edges, and bake according to your pie recipe. For extra shine, brush with an egg wash before baking.
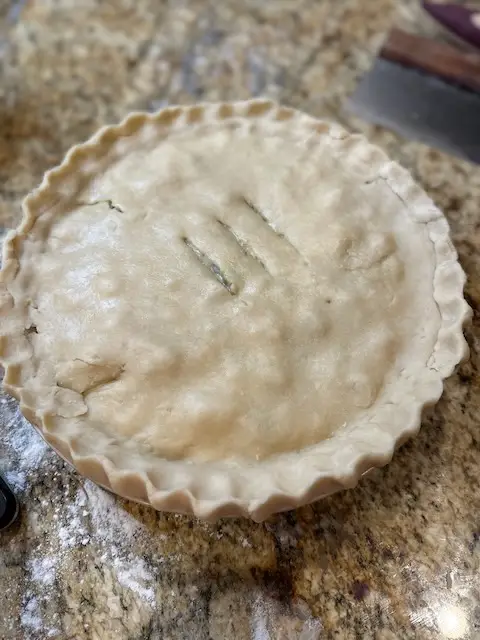
- **I used my dough to top a Chicken Pot Pie. See the cracks in the dough? I didn't use quite enough water. I think I used 5 Tbl – and probably could have used 6. (Temp in the house / Temp Outside / Humidity levels – all play a part in how much water you need….)
Notes
Nutrition
There you have it—easy as pie!
Drop a comment below: What’s your favorite pie to make with this crust? 🥧