
Where did you find this one?
So there I was…scrolling through instagram and this amazing video pops up and Kim, Cookim_mama shows up on my screen and in about 45 seconds she makes the most impressive gorgeous cinnamon expresso rolls I’ve ever seen… She calls them morning buns, but I think they are cinnamon rolls with a pinch of expresso powder. But that doesn’t matter – what matter is… I think to myself, Self, YOU CAN DO THAT ! So off I go… asking how hard can that be????
Who of you reading this right now have been captivated by something on tik tok or IG and you had to run off and try it ? Me. Definitely me….
You make the dough the night before – super simple first step.
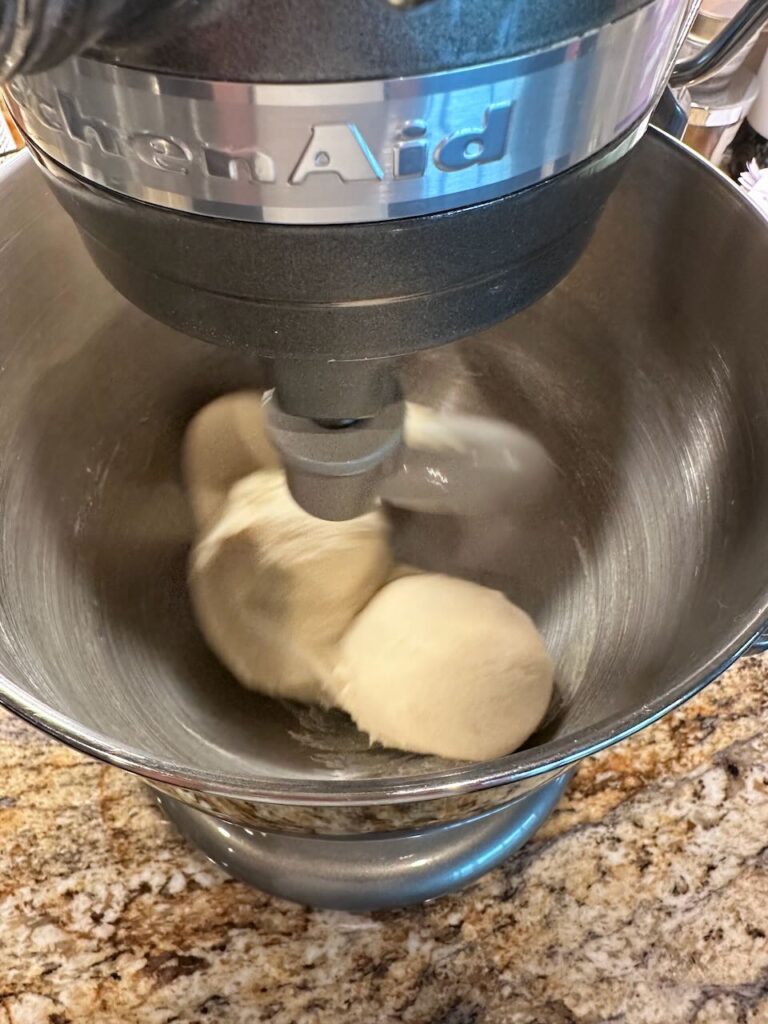
Kim has indicated all the ingredients in metric grams – so I get out my handy dandy scale, plop on my mixing bowl, reset the weight and begin dumping ingredients into the mixing bowl. Plop that baby onto the stand and let it knead. Not so hard, so far. All is going according to plan. But then… the dough is really, and I mean really, wet. (This is one of my pet peeves. When bakers give you the exact gram weight of bread fixings and then the dough isn’t exactly right and you have to add a TBL or two of additional something to get it to the right consistency… yeah, so glad we weighed everything… (!)). So I added about 1.5 additional TBL of flour… and knead some more (by machine).
Ok – after a while – add the butter, knead another 10 + min. Check for windowpane test. The dough stretches, it rips. I think to myself – Self – what’s this windowpane test – do you actually remember ? I vaguely remember, pull the dough and it gets thin – but then it breaks. I think it needs more kneading – so I add more time.
Here’s a great article from King Arthur Flour on the windowpane test if you are interested in learning or getting a refresher !
Ok – dough is done. My patience is thinned. Cover the dough with a tea towel and let it sit on the counter while we watch the BEAR. (have you seen that show?!). After a few episodes, back to the kitchen, toss the dough into a smaller bowl and plop that bad boy into the fridge and hope for the best. See you in the morning !
Make the filling :
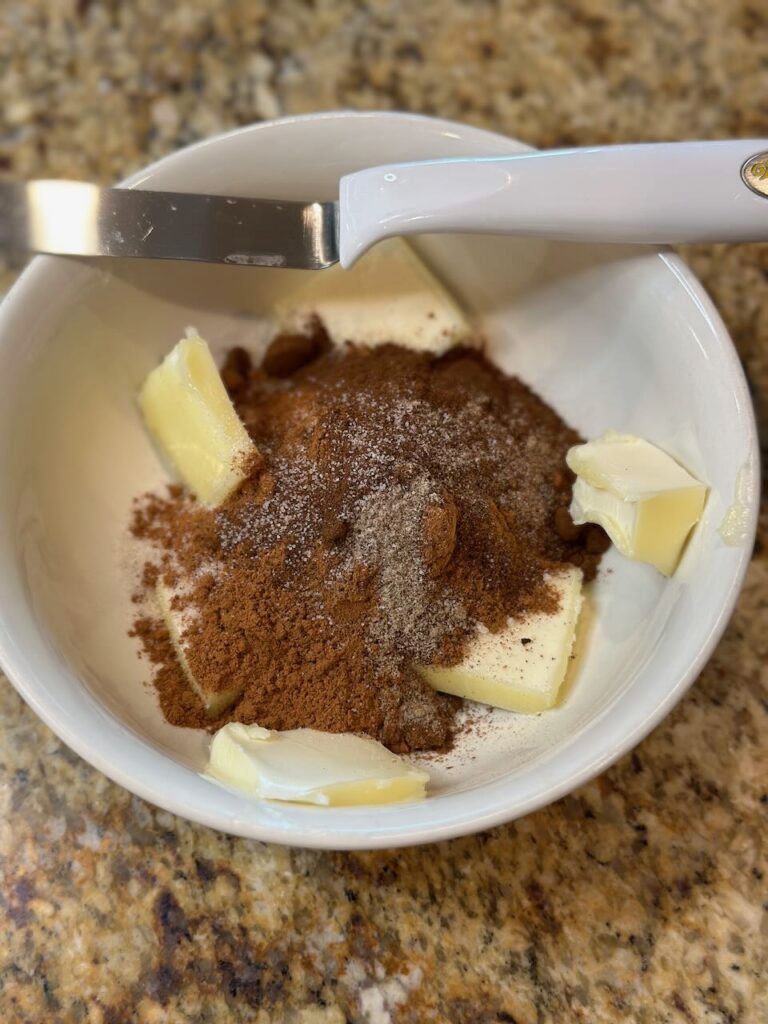
In the AM – I get out the ingredients for the filling – and begin mooshing around the butter and sugar and cinnamon etc. in a bowl to get it to warm up and be ready sooner than later for spreading. (didn’t want to leave the butter out all night, but that probably would have worked too….) My method worked, the butter is pliable and the sugar and cinnamon and expresso powder are ready for spreading.

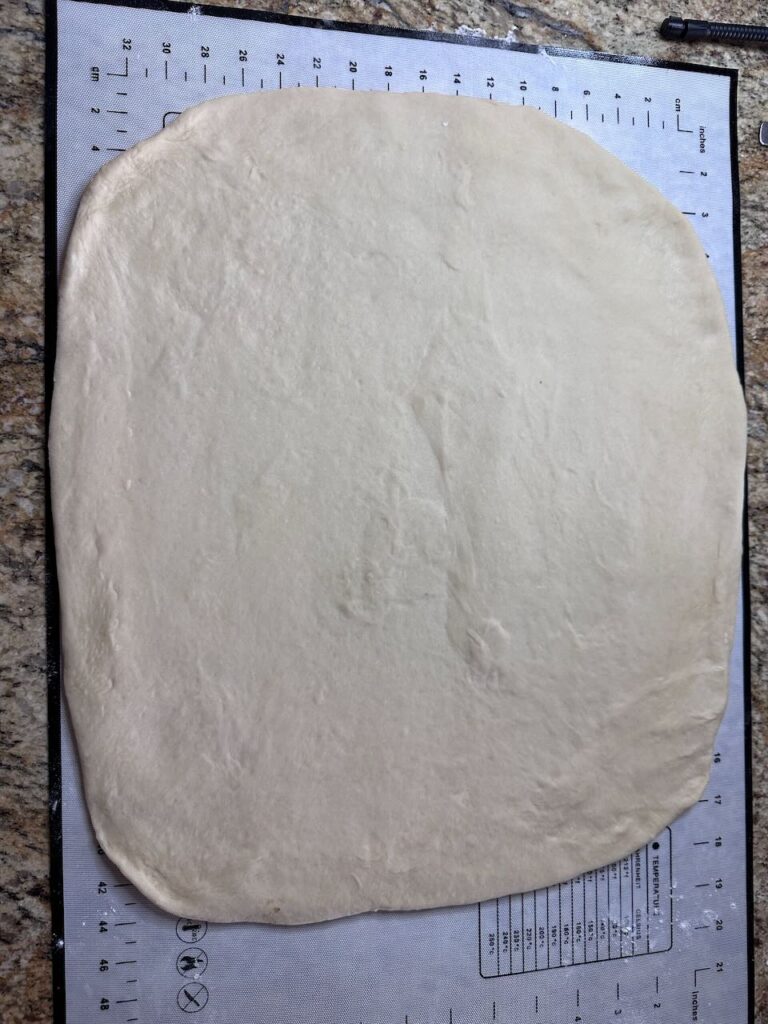
Roll out the dough 16 X 16 :
I get out my handy dandy silicone dough mat and my fancy artisian wood rolling pin (a souvenir from our trip to New Brunswick last year) and I roll out the dough. The video from Kim just shows her doing it on her counter but I’ve got silicone to help it not stick and even so, it’s sticking… So I add a dusting of flour – so that I can more readily maneuver the dough. I think – self – you may not have kneaded it long enough and this ol experiment might fail ! (Don’t you just hate that self doubt? ). But I’m nothing if not persistent! I continue on, the dough is more readily maneuvered with the extra flour and I get the dough rolled out.
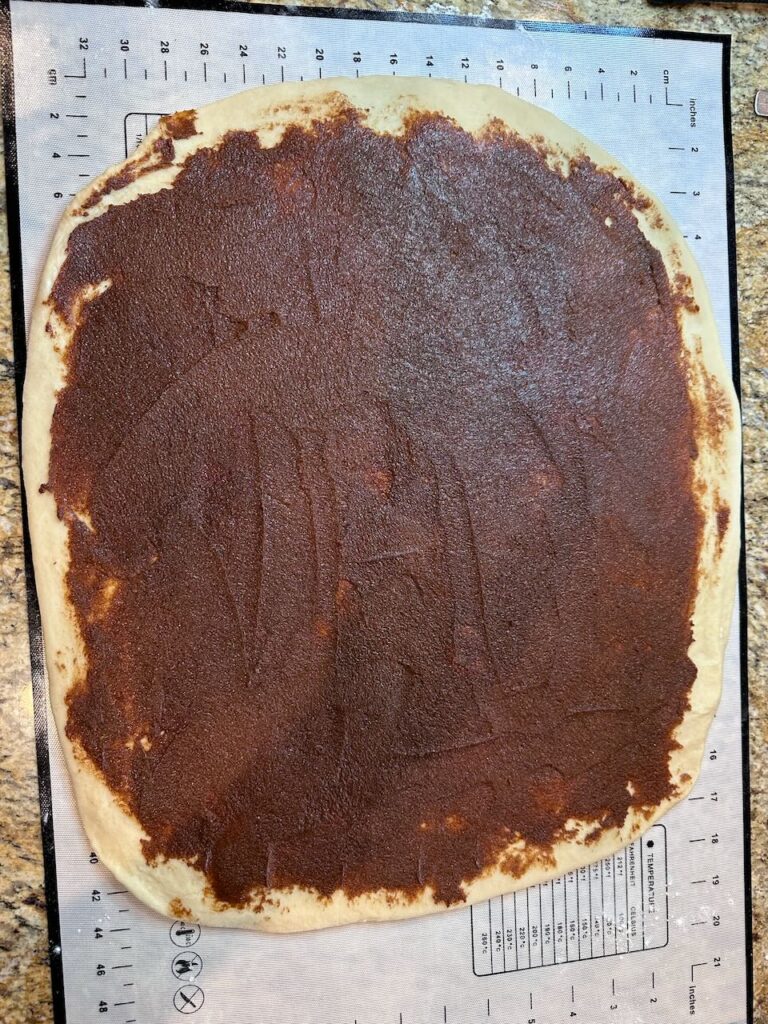
Spread filling onto the dough – fold in Thirds:
The butter + sugar etc gets spread onto the dough. Try to get it spread out evenly and take it right to the edges because we want yumminess in ALL of the bites.
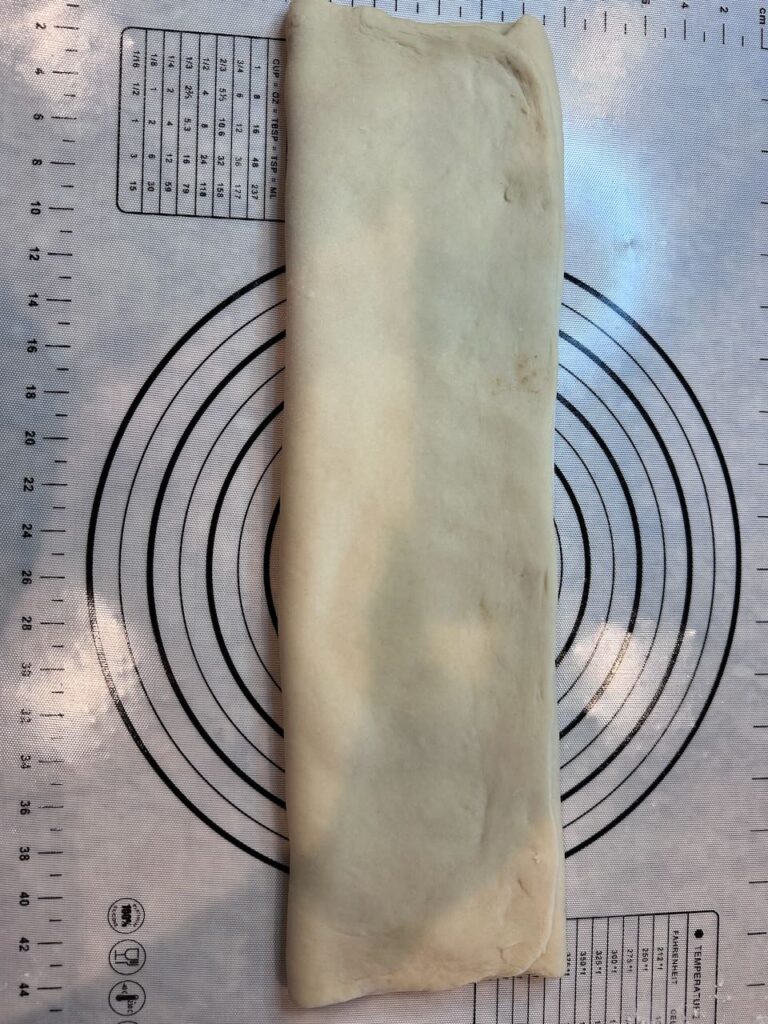
Fold the 16X16 dough into thirds, like a letter.
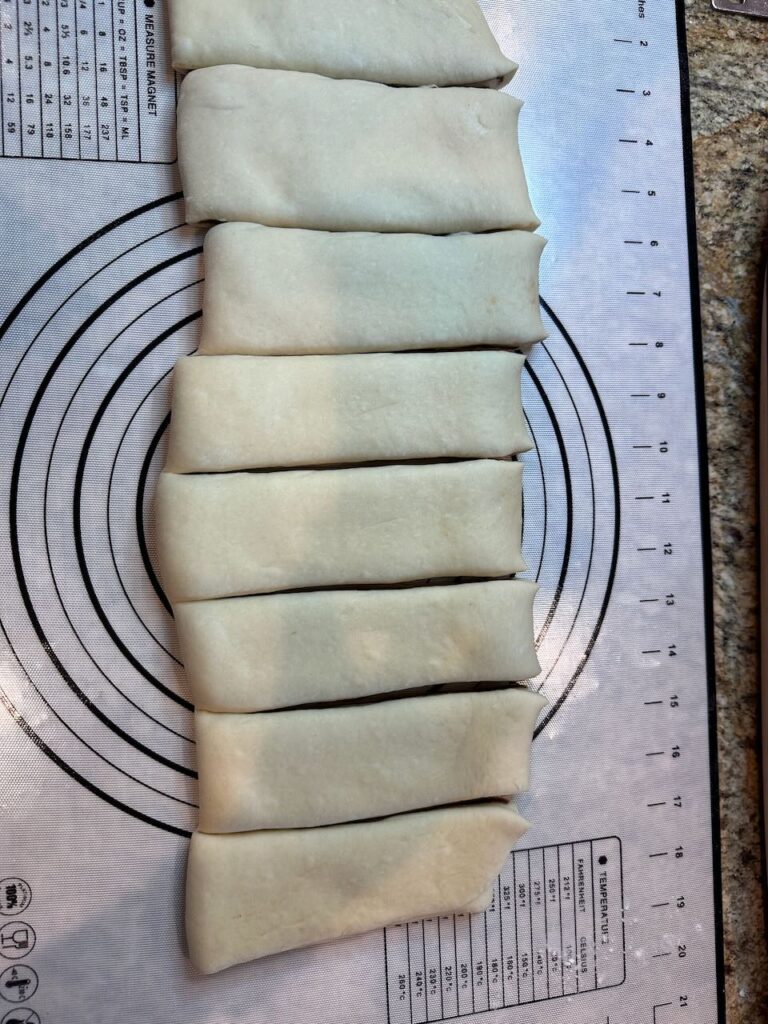
Form the rolls – Cut the dough into 2 inch sections. Then cut each section into 4 thin strips.
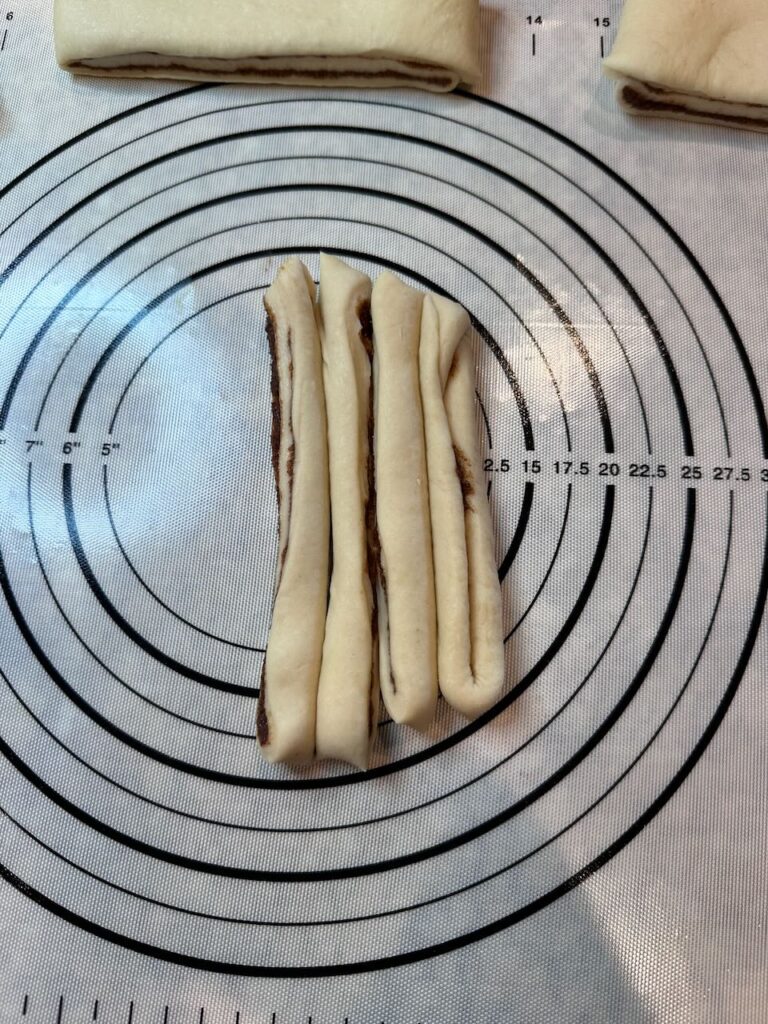
This looked super easy in the 45 second clip. I used a pizza cutter – I didn’t want my sharp knife to go through my silicone mat. It worked fairly well. Suspect the knife would have been better but again, didn’t want to cut my mat so I persisted with the pizza wheel.
This is when things started to get messy. Cutting the 2 inch strips into 4 strands wasn’t the cleanest thing I’d done all day… ha.
It was at this point I thought of my friend Michelle. She taught me the most powerful kitchen lesson ever, without even knowing that she was have a HUGE impact on my kitchen life. You see…she came into the house once and said, “this cake stuck terribly to the pan. I pulled it out best I could – slapped some frosting on it – I’m sure it will still taste delicious”. Her cake wasn’t perfect. She’d had a baking mishap – and she didn’t care. I certainly didn’t care. I couldn’t wait to eat that yummy cake. It was such a powerful lesson I hope you too can take it with you and use it ongoing, every single time you are in the kitchen. Mishaps will occur. Deal with it – move on. Things will still taste delicious 99.99% of the time. (Unless you burn it all to hell…. but you knew that !) hahahaha.
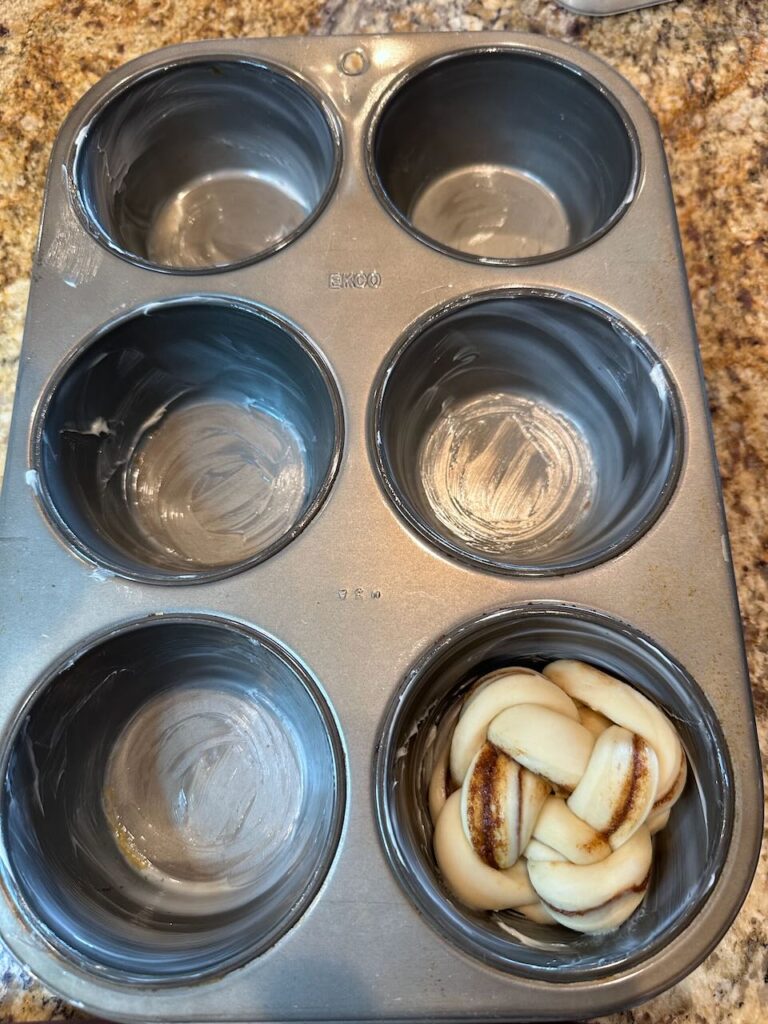
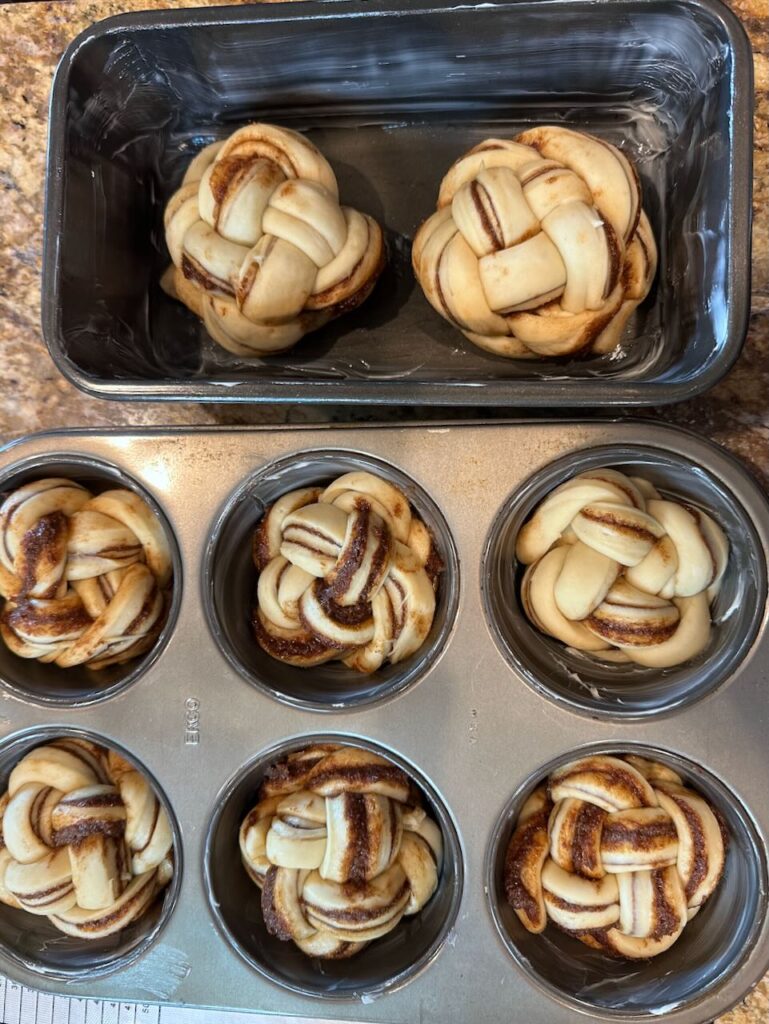
So, my strands didn’t look long enough, the filling was sorta oozing out, my silicone mat was getting all cinammoned and I thought – self – just keep going. I braided as best as I could – and popped those bad boys into my extra large muffin tin. I only have one X-Large muffin tin – so I had also gotten out a loaf pan. Again – they will still taste excellent! No need to fret over not having the perfect tools. (This recipe makes 8 buns and I have a Xlarge – 6 tin. I’d read a review that a woman made this for ‘regular’ muffin tin and only used 3 strands per muffin instead of 4. People are so creative!)
Shaping Process:
Make a lattice (over under) with 4 strips. Then over / under with two strips, 4 times around. Then over under splitting the groups, again. (See the video!). Pick up the mess of dough and tuck the edge of the strands under and place the pretty bit on the top. Do not worry about the edges or what’s happening on the bottom of the roll.
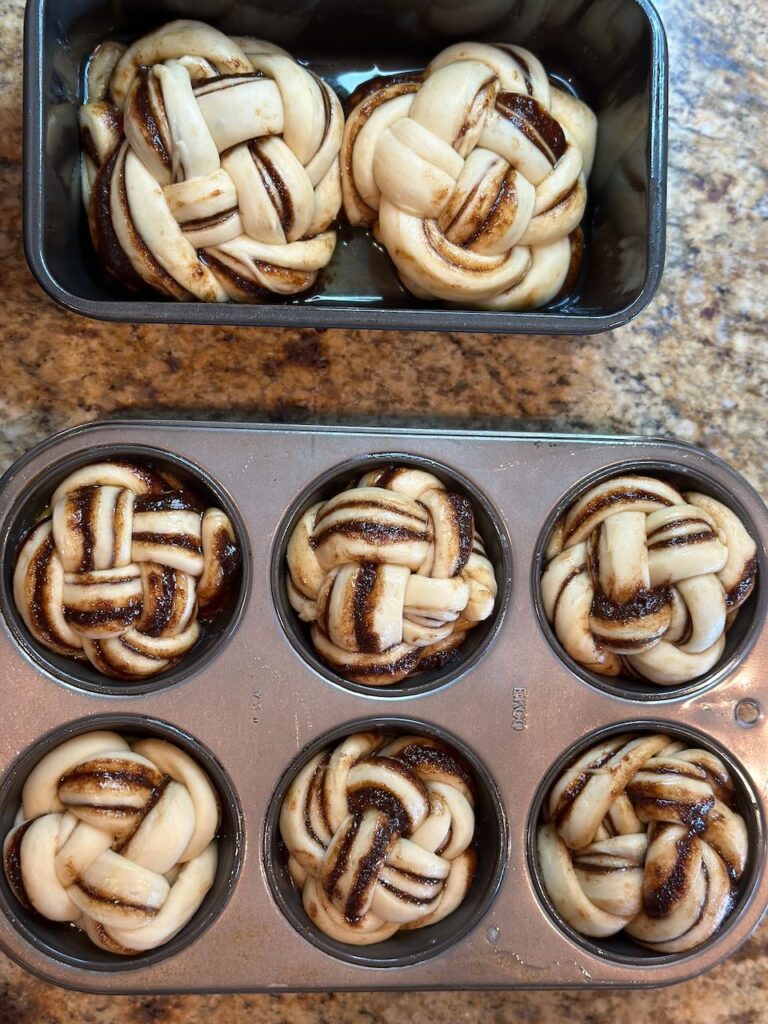
I then put the shaped rolls into the warming drawer and waited 30 minutes. They proofed nicely (i.e. doubled) and then were ready for the oven. If you don’t have a warming drawer – it may just take longer for your rolls to proof sitting on the counter. No worries ! Just wait till they look doubled. (on the left – shaped, on the right doubled)
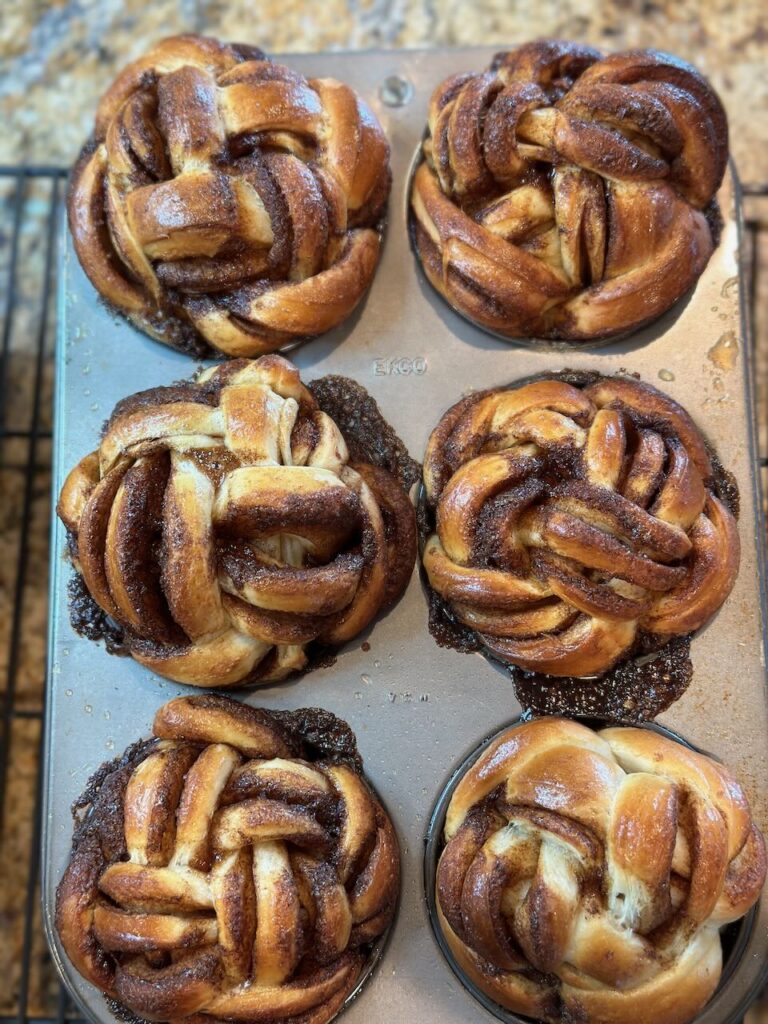
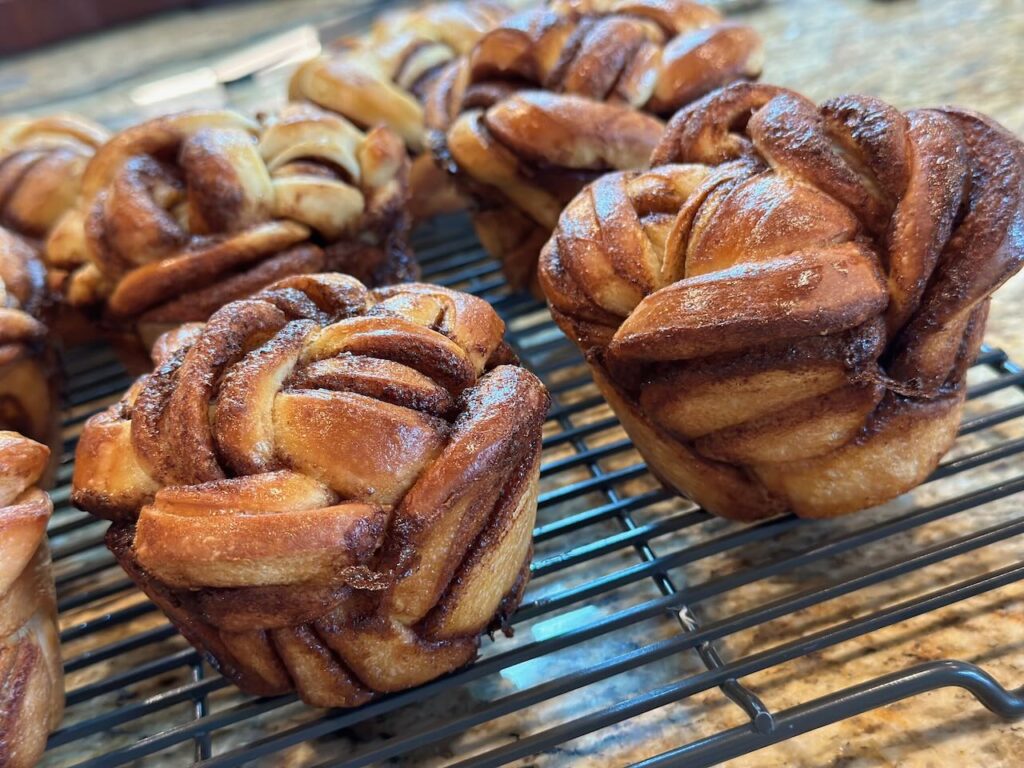
I baked these rolls in the oven at 350 degrees and double checked their temp with a thermometer – they were well into 195 + after 20 minutes so I took them out, let them sit in the pan for 5 min and then got them out to cool on the cooling rack.
The kitchen smelled amazing. Hubster was working out – and came into the kitchen asking if they were ready – cause the kitchen smelled ready !
How’d it all go?
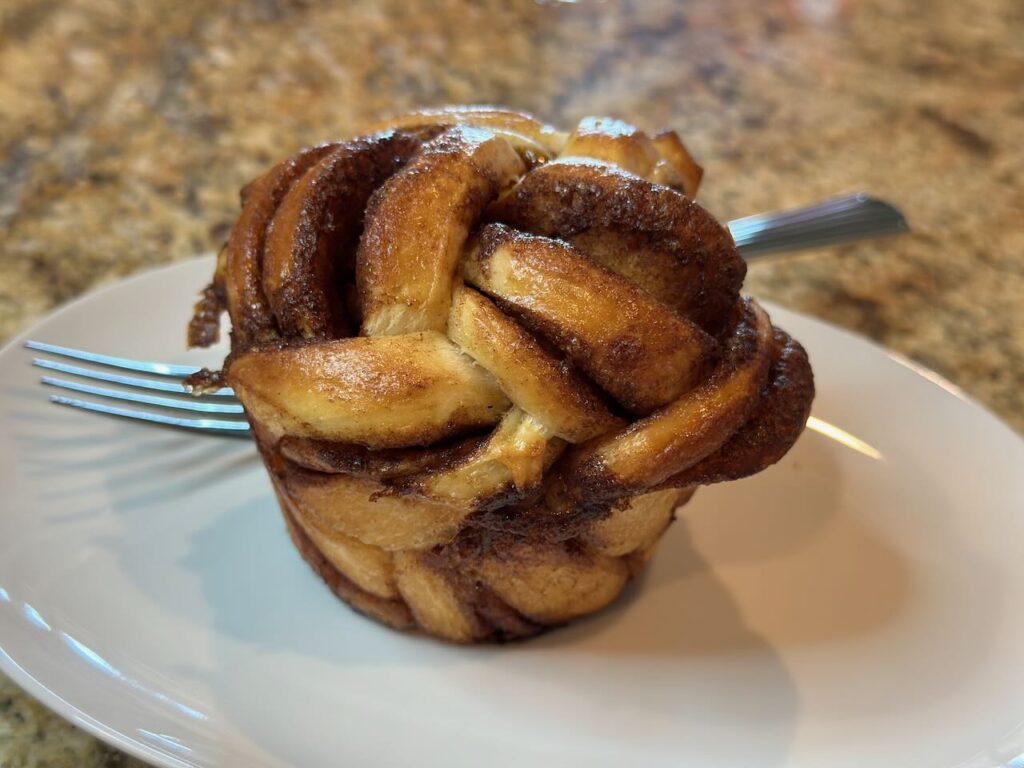
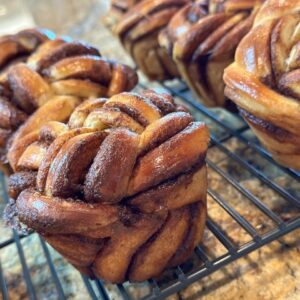
I cussed for nothing… The rolls baked up gorgeous. I couldn’t believe all the fussing I’d done and they came out like I’d made them lots of times before. Just goes to show you CAN do anything. Don’t worry about the mess, and use whatever tools you have – and people will eat these things up happily. Just like the cake and the lesson Michelle taught me all those years ago.
Is there anything else I should know about these rolls?
These rolls are not very sweet. Obviously, there is no cream cheese + powdered sugar frosting. The dough is nice and the cinnamon + expresso is not overpowering. The sugar is present but doesn’t hit you like an oreo that you need to follow up with milk.
I compared this recipe with others out on the great recipe box in the sky (i.e. google) and most cinnamon roll recipes have much more sugar in them. So when I say these are not very sweet – keep that in mind. The original author called these morning rolls – I think that was a nod to the fact that they are not what you are thinking about when you think ooey gooey cinnamon rolls. If you go into this experiment thinking you are going to have a nice bread with cinnamon and expresso powder for breakfast with your coffee you will be quite happy. Plus they are absolutely gorgeous and as you know by now, you eat first with your eyes.
Hubster said the rolls were quite good and he’d ask for them again. I begged for a rating…you know 1-10 scale but he wouldn’t give me one. As I pass these out in the hood (to get them OUT of my house) I’ll update you on what the neighbors say. OK — feedback received. First thing neighbors said was – they are beautiful. Second thing – they are not very sugary. One neighbor suggested maybe a sugar glaze when they come out of the oven. (1:1 micro water / sugar?). Another neighbor said that maybe they needed additional butter / fat in the dough. That may have been another nod to the traditional cinnamon rolls that are goo-ier. ???
In the meanwhile – see if this is something you need to try ? They are so pretty and look impressive and your family may just think you are a goddess after you make them!
Cinnamon Expresso Rolls
Equipment
- Mixer Kitchenaid
Ingredients
Brioche Dough
- 475 g Bread Flour
- 260 g Whole Milk
- 1 Large Egg
- 1 Large Egg Yolk (1 Egg + 1 Yolk)
- 50 g Sugar
- ⅛ Tsp Cardamom (Optional – I excluded)
- 9 g Salt
- 6 g Instant Yeast
- 90 g Unsalted butter (chilled)
Cinnamon Expresso Filling
- 90 g Unsalted Butter Room Temp
- 80 g Sugar
- 4 tsp Cinnamon
- 2.5 tsp Espresso Powder
- ⅛ tsp Cardamom (I used it here)
- Salt – a pinch
Instructions
Make the dough the night before baking
- Get out your scale and measure up the ingredients into your mixer bowl. (all except the butter.)
- Use your dough hook and knead for about 10 minutes on low. (I used speed 3).
- Once the dough is looking fairly good / mixed / beginning to get pliable – add in the chilled butter and knead more – for about 10 more minutes (again I used speed 3). (reminder – I added about 1 Tbl extra flour…you may need some extra also?)
- Pull a piece of dough off – and flatten slightly. Pull the dough / stretch the dough – and see how thin you can get the interior of the dough. (Windowpane test) If quite see-through – dough is well kneaded. If it rips readily or doesn't pull nicely – knead another 5-10 minutes and recheck.
- Cover the dough with a tea towel and let raise for about 30 minutes to 1 hour. I left mine out for 1.5 hours as it wasn't raising.
- Place dough in a clean bowl, cover with plastic wrap and rest in the fridge overnight.
Make the Filling
- Mix all the filling ingredients together and stir / ensure the filling is pliable and will be easy to spread.
Roll Out the Dough & Spread the filling
- Roll the dough out to about 16X16 – and spread the filling as evenly as you can. (You may need a dusting of flour to help you roll / maneuver the dough)
Cut and Shape the Dough
- Butter your Xlarge Cupcake Tin / Baking Pans. (makes 8 rolls)
- Fold the dough in thirds, like a letter going into an envelope.
- Cut the Dough into 2 inch strips (8 strips).
- Cut each 2 inch strip into 4 thin strands. Place the 4 strands like a lattice (over under and then under/over). Then wrap two of the strands (over / under) – 4 times around. Then mixing the groups – wrap two of the strands (over / under) 4 more times. Gather up the dough by pushing the pretty center to the top and tuck under the bottom the strand ends. Place the roll into the Xlarge tins / baking pan.
Proof the rolls till doubled
- I placed mine into the warming drawer (with sprayed plastic wrap) on lowest setting for 30 minutes. You could raise on the counter for 1 hr or more – depending on temp in your house.
- Egg wash rolls just before baking.
Bake at 350℉ for 20 minutes
- Bake until slightly brown and cooked through – internal bread temp ~ 190℉
Just came upon this recipe. Looks amazing. In the assembly instructions it says “see video”. I would love to watch the video to see how these are braided. Where is the video, please.
Hi Ann – sorry I wasn’t more clear – super excited you want to try the recipe. The original source was Instagram and here’s the link. https://www.instagram.com/p/C9NQcaWRroQ/?hl=en
For me – I had to screen shot her video in order to do the assembly. I was afraid of posting my screen shots of her video – so said to see her video. I have also come across her video that uses freeze dried fruit and lemon – ie strawberry lemon or raspberry lemon. I bought the freeze dried fruit – those are on my todo list…