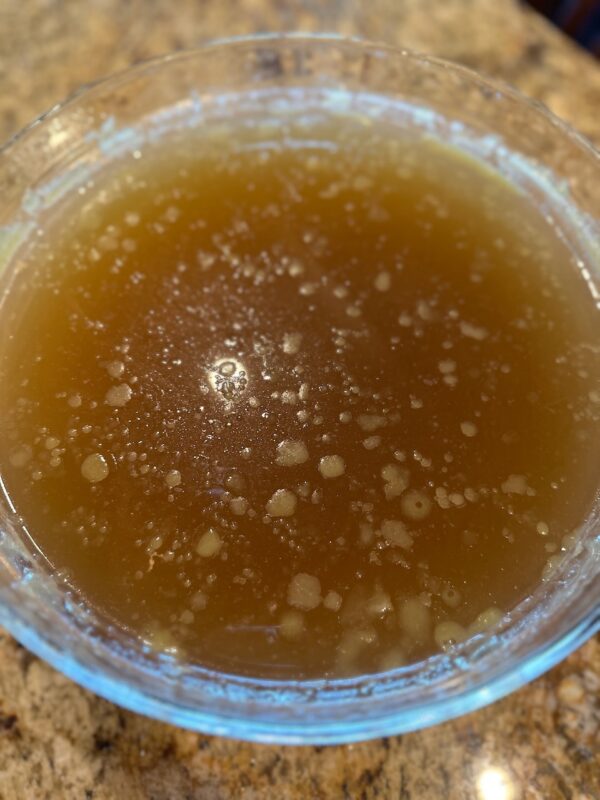
Making homemade Chicken stock or Chicken Bone Broth is as easy as can be. You can start with a roasted chicken (or substitute Turkey – aka Thanksgiving Turkey Stock) or raw chicken. I’ve done all and been very happy with the results. The key to a good stock is time spent on the stove. I typically simmer the stock for 3+ hours to extract the most flavor out of the bones, meat and the vegetables.
Today’s adventure started because I found a screaming deal at the grocery. With inflation and the prices we are paying for food these days I just couldn’t pass it up. Despite the fact that I was shopping late in the day and therefore making stock after dinner – I had plenty of time to let the stock simmer while I zoned out and watched drivel TV before bed. The key is to make your stock when you will be home for a couple of hours. There isn’t a lot of active work – so it can be late, and you can let the stock do its thing…
What you need to make Chicken Stock
First and foremost – you’ll need some fresh OR roasted Chicken (or Turkey), some aromatics (celery, onion, leeks, green onions, fennel, garlic etc.) and some herbs (parsley, sage, thyme etc.) Assuming you have the minimum : Celery, Onion & Carrot – and a herb (dried or fresh) you are good to go. Everything else is a bonus flavor to add to your stock or bone broth.
The french fancy pants chefs can provide details about the use of raw chicken bones vs. roasted chicken bones — which results in white stock (raw chicken) or brown stock (roasted chicken) and which is better for which use. I’m sure that is highly important in Micheline restaurants but for me and mine – I use what I have and what was on sale!
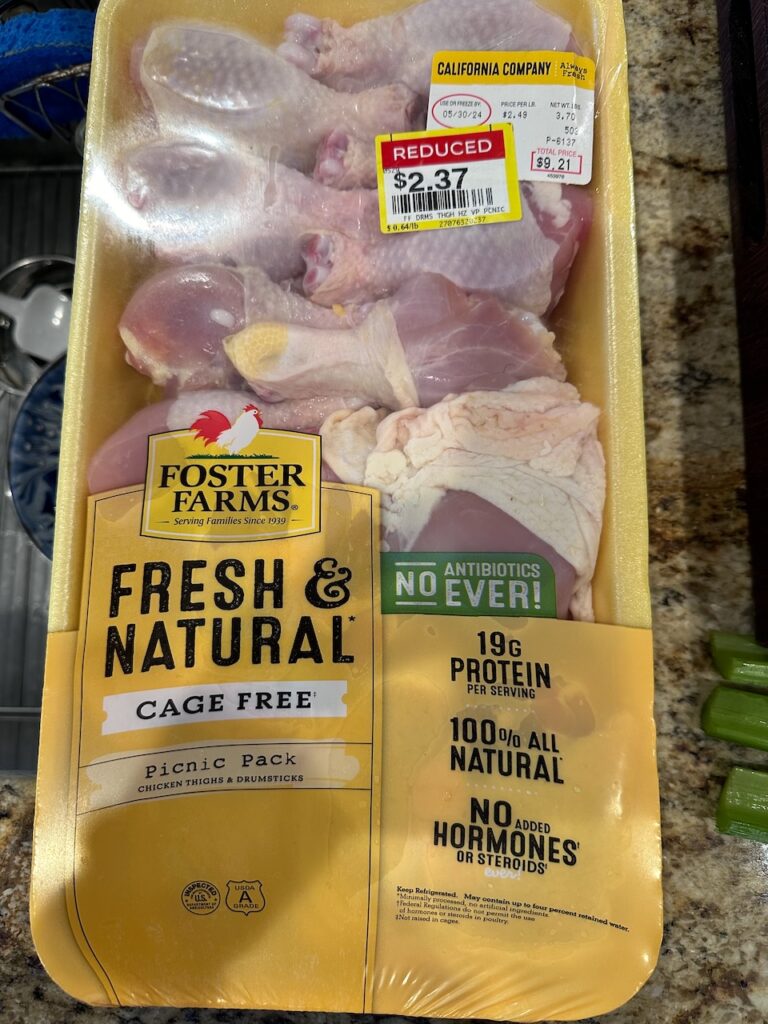
Case and point: How in the heck could I pass this up? First thing that came to mind was Stock – and here we are !
Talk about Saving Money!
Let’s talk frugal girl cooking for a minute… 4 Cups of good bone broth can run you about $4 at the grocery. After all was said and done with my broth – I had 1.5 Lbs of cooked chicken, and about 14 cups of bone broth. Six cups went into the freezer for a future soup and about 8 C are in the fridge waiting to be our next chicken soup recipe / blog ! The cost of the celery and onion and carrot was probably $2. So total cost thus far is about $4.50.
(I always tell David – no matter what happens to us I will always be able to feed us well for not a lot of money – because I’m such a grocery bargain shopper! )
If I add the 1.5 lb cooked chicken to half the stock, toss in another $2-3 worth of vegetables and spices, maybe some 1/2 and 1/2 and some rice and wha-la – I’ll have ~10 – 12 servings of healthy creamy vegetable chicken soup for another $3-5…. Not to mention – no additives or preservatives and we have all the health benefits and nutrients from making homemade stock!
Think now about those folks going to Panera Bread (or somewhere similar) and spending – HOLY COW – $9.39 for ONE single bowl of soup – at my local panera bread (5/30/24). (No – that wasn’t the bread bowl – that’s $10.18.) Yeah – I guess that proves my point. I’ll have a big ol pot of soup for what I’m thinking is going to be about $8.
So – lesson here – watch the sales and clearance at your grocery. If you see a screaming deal and the chicken is best sold by date is tomorrow – just make sure you have some celery, carrots and onions and some spices to make a big ol pot of stock – and 3 hours to let it simmer and you are golden.
Ok – so how do you make chicken stock?
As I said – cooking chicken stock or bone broth couldn’t be easier. First things first. Grab your biggest stock pot and put it on the stove.
Grab an onion – peel and all – and chop it into quarters. (peel adds color – but not flavor)
Grab some carrots – wash them and rough chop them into chunks. No need to peel the carrots. You can always use baby carrots – and just toss them into the pot!
Grab some celery – couple of stalks. Wash them and rough chop.
Those are the minimum requirements for aromatic vegetables.
Other vegetables / aromatics you have you can use ? Toss a few cloves of garlic (peel and all) into the pot? Have a leek that needs to be used? Clean it carefully and toss in the GREEN parts and the root trim into the soup. (Save the white parts for the actual soup later!)
If you were a super frugal person – you may have a freezer bag full of vegetable trim that you were saving just for making stock? If yes, toss that bag of veg in, instead of using fresh vegetables!
Spices : I always have bayleaf ready for my soups – toss a couple of those into the pot. I also added some black peppercorns and some salt. Use what you have. Make sure to add a healthy amount of salt and pepper – there’s a lot of water and chicken going into that pot too! (I used 1/2 Tbl of salt to start). I also added 1 Tbl of poultry seasoning. (Substitutes: could do 1 tsp of each parsley, sage, thyme etc.)
If you are using raw chicken like I did – make sure there are bones on your chicken and toss the chicken into the pot. Fill the pot with water making sure the chicken is covered by about 1 inch of water. As one of my favorite food network stars says (Anne Burrell) Bring to Boil (BTB), Reduce to Simmer (RTS). After about 30 minutes of simmering the chicken – take the chicken out, let it cool. Remove the meat from the bones. Toss the bones BACK INTO THE STOCK and put the meat into the fridge for later use.
If you are using a roasted chicken carcass – toss that carcass into the pot – breaking it up if necessary – and hopefully there is some meat still left on the bones?! Same as above, BTB, RTS.
In either case, after the stock comes to boil – carefully skim the scum using a large spoon. (Pro Tip: While standing at the stove, I’ll use a spoon to remove the scum and a bowl to hold the discards so I’m not dribbling the scum across the kitchen floor…haha) Replace any lost water with fresh water – maximizing your stock output without compromising flavor.
Simmer for 3 hours minimum. OK – probably could do 2 – but the more the better. Taste the stock and see if it is rich enough / flavorful enough before you take it off at 2 hours. Literally if it weren’t bed time – I woulda let the pot simmer for 4 hours or more. Really – the longer the better!
Remove the spent vegetables and bones. (use a sieve or a spider strainer) Discard solids. They have given everything they have to give.
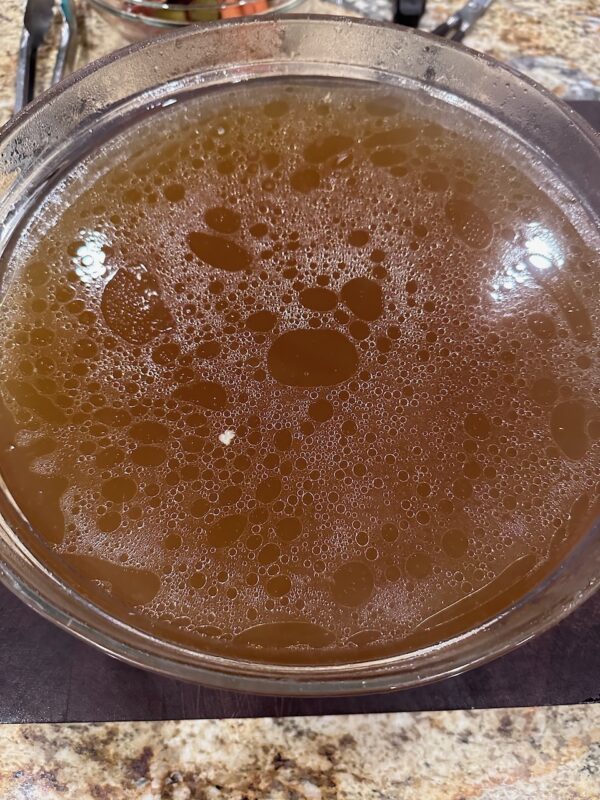
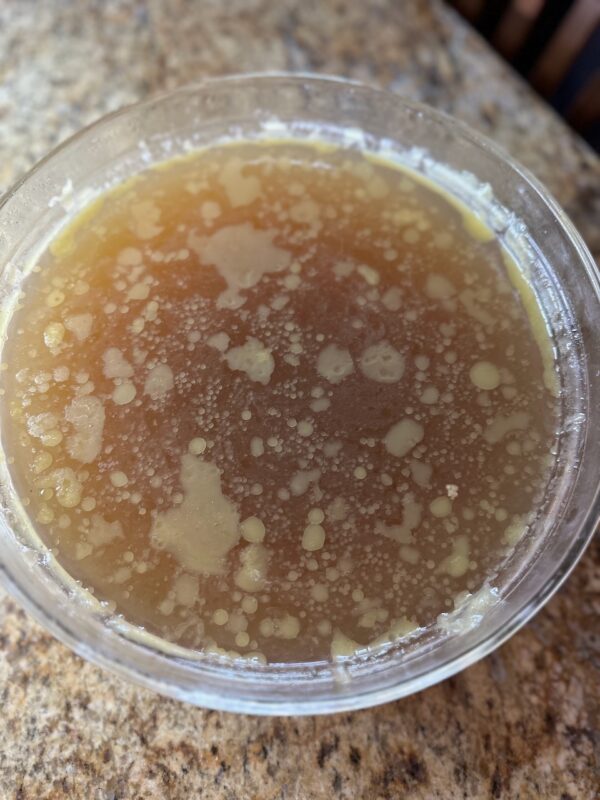
Place stock into the fridge in a bowl or other large container. The next day the fat will have risen to the top and will be able to be skimmed off, if desired. (Fat adds flavor!)
Easy Peasy. It takes about 8 minutes to get the stock going. Another couple of minutes to check on it / remove the chicken (if using fresh) and then another 10 minutes or so to strain and get it into the fridge. Doing dishes – yep – that’s another 10 minutes. So maybe 30 minutes active time on top of the 3+ hours simmering.
Storage of Chicken Stock or Bone Broth:
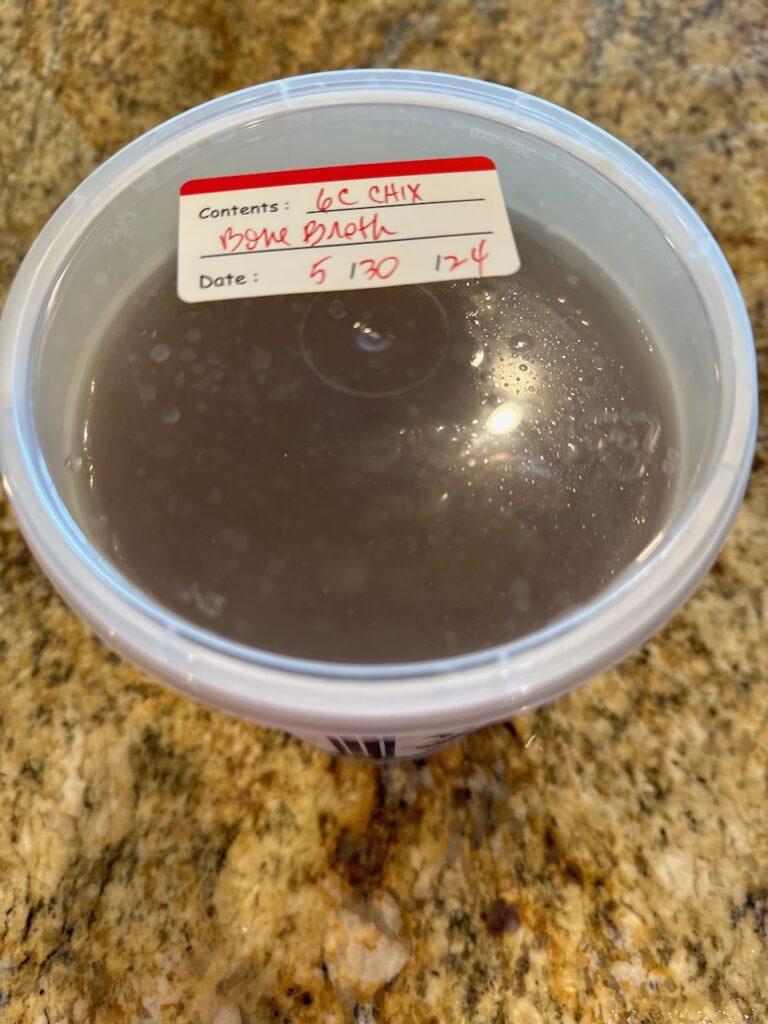
As you know by now, I’m a big saver – and I have large yogurt containers that I’ve kept for purposes of friends take home leftovers and stock freezing! Maybe you have tupperware or Gladware or other containers. I definitely freeze my stock for future soup making. Stock can be frozen for about a 6-8 months. But – hopefully you make soup before then !!!!
I also put some into the fridge for next day / near term soup making. Stock can be kept about a week in the fridge. If for some reason you aren’t making soup and don’t have another near term use – freeze it all.
I’ve read that some people boil the heck out of their stock (once cleared of spent vegetables and bones) and then it concentrates – so there is less to freeze – and you can basically reconstitute it with more water later. (think dried chicken bullion – Bouillon is made by removing the water from chicken broth – but obviously not going that far !) Some even suggested using ice cube trays to freeze stock – if you wanted little bits of stock instead of large 6 C containers… Think of your future usage – and store it properly. There are lots of options!
Homemade Chicken Stock or Bone Broth
Equipment
- 1 Stockpot – large stock pot – I used 8 Qt stockpot
Ingredients
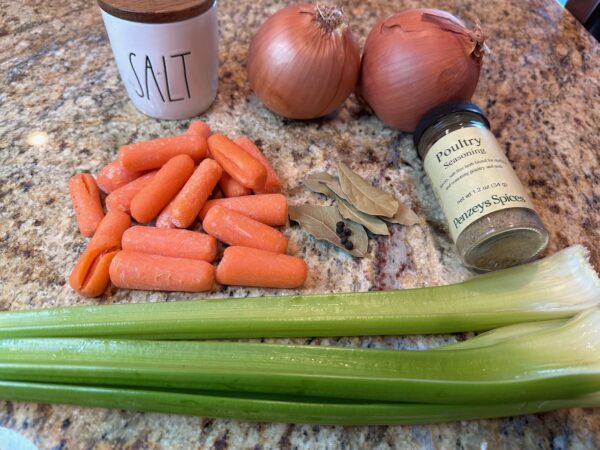
- 2 Onions – Large onions, Quartered with skins
- 3 stalks Celery – cleaned and rough chopped
- ½ Lb Carrots – baby carrots or washed whole carrots – rough chopped
- 3-4 Lb Chicken Pieces – Raw with Bones – or a Whole Roasted Chicken Carcass with some meat
- 1 Tbl Poultry Seasoning – can use 1 tsp each of 3 different spices (Parsley, Thyme, Sage, Rosemary – whatever you like)
- ½ Tbl Salt
- 5 Peppercorns – or 1 Tsp Ground Pepper
- 3-4 Bayleaf
Instructions
- Organize your ingredients. Wash / rough chop vegetables you want to add to your stock. (See my peppercorns?)
- Place all ingredients into the stock pot and cover with about 1" of water.
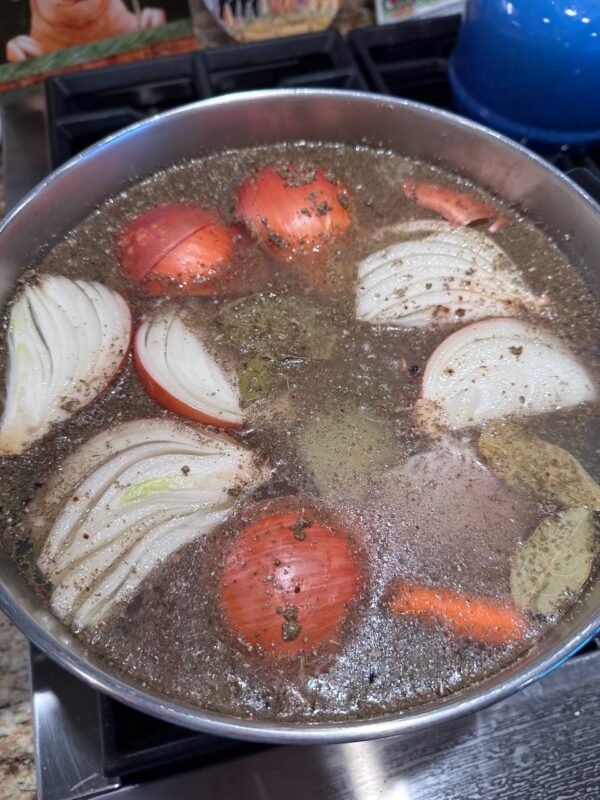
- Bring to Boil – Skim the scum
- Reduce to Simmer – set timer for 30 minutes if you have used raw chicken with bones.

- Remove chicken from the stock and let cool long enough to handle with your hands.
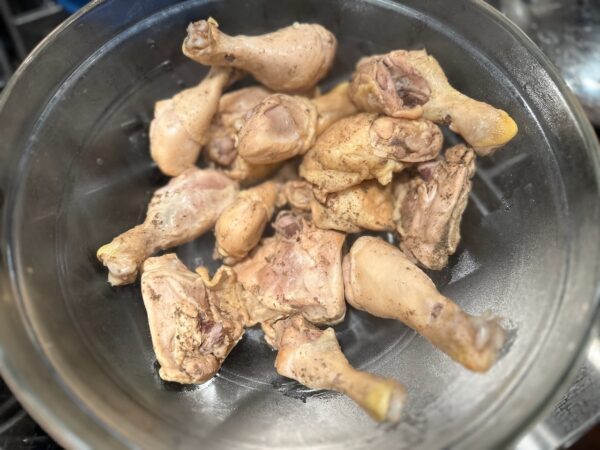
- Remove the chicken from the bones – I use my hands… Store poached chicken in the fridge for a future use. Discard the skin, fat and any other gunk. (I got ~1.5 lbs of cooked chicken out of 3.7 lbs of raw chicken and bones…FYI)
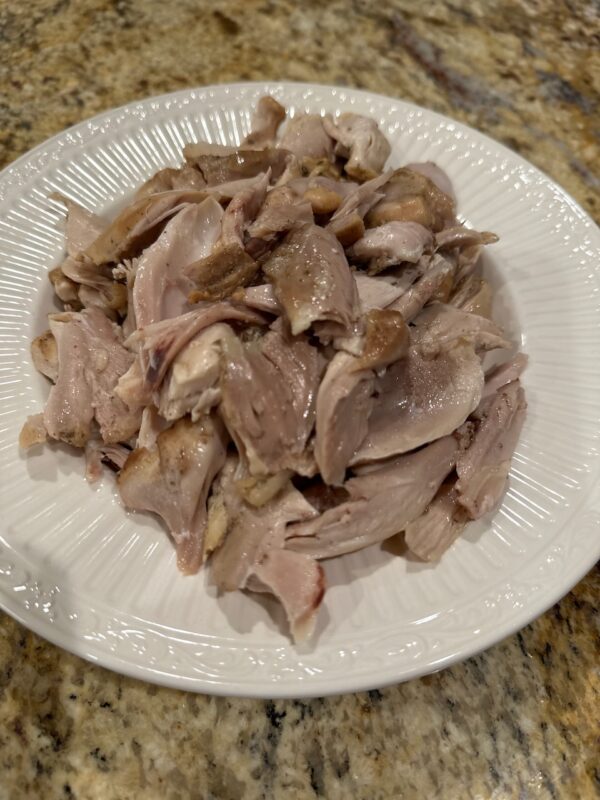
- Place BONES BACK INTO THE STOCKPOT.
- Simmer stock for another 2.5+ hours. If you are in a pinch – taste after a minimum of 2 hours and see if the stock has *enough* flavor. See color difference in stock – across the 3 stock pics.
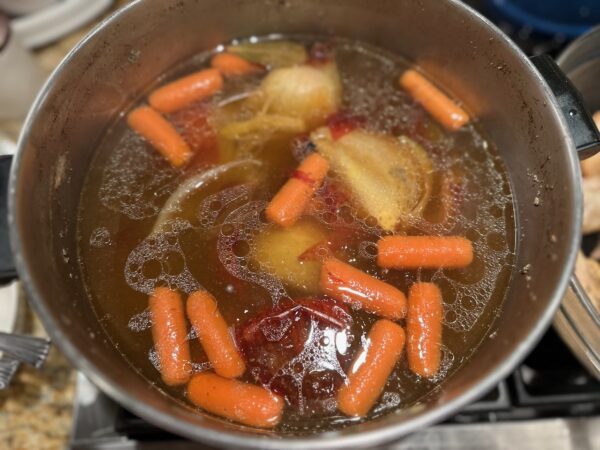
- After 3+ hours of simmering – remove and discard the solids from your stock – using a sieve or a spider strainer or similar.
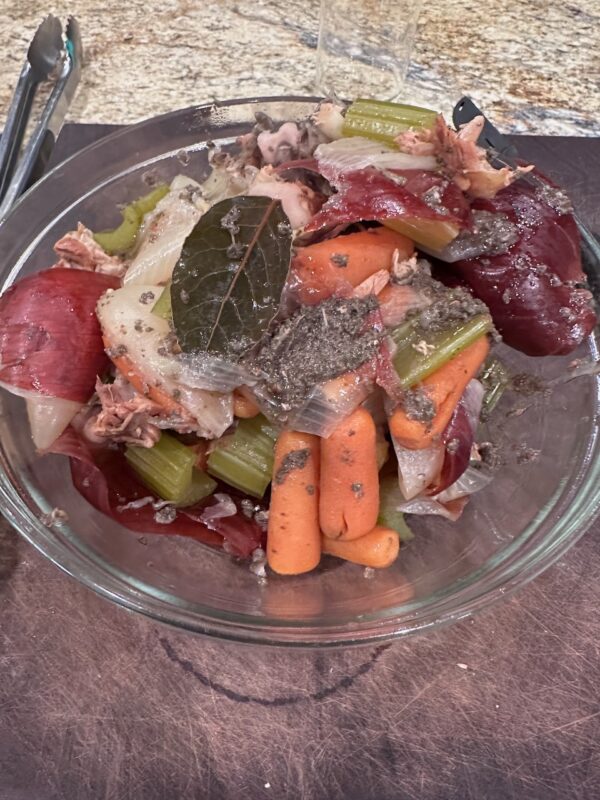
- Place stock into a container to go into the fridge overnight.
- The next day – you can remove some of the fat if you like from the top of the stock using a spoon / bowl…
- Determine how you want to store the stock – some in the freezer / some for soup in the next couple of days?
